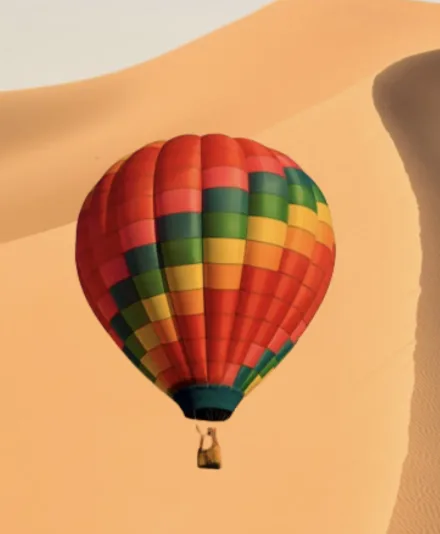
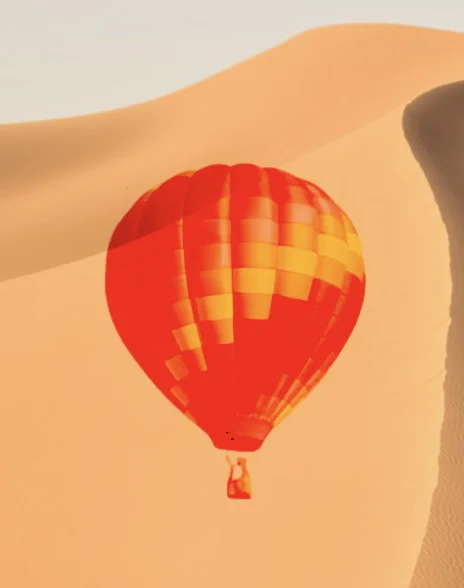
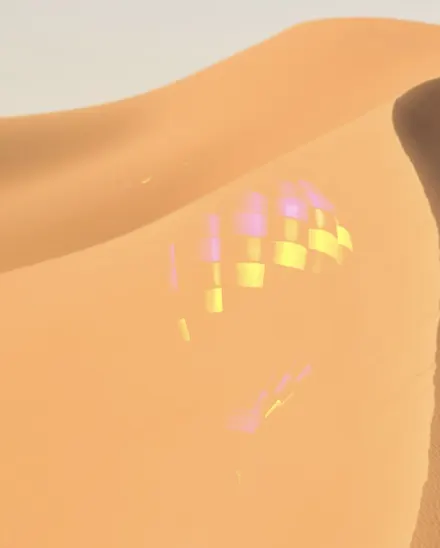
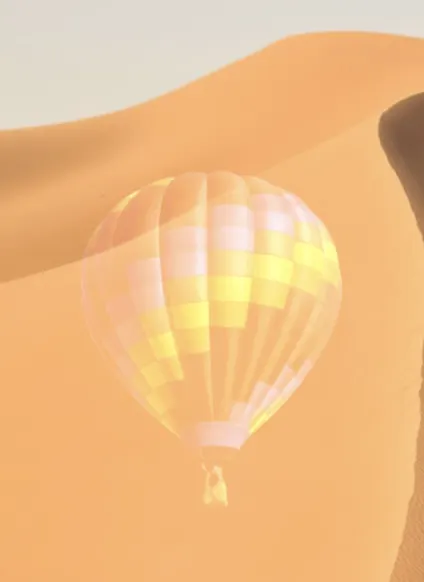
How to blend two images together
16 modes to make your image standout from the crowd
Create unique and captivating designs in Graphic Design with Snapied's powerful blending modes. Transform ordinary photos into extraordinary visual experiences with just a few clicks.
Step-by-Step Instructions
Want to create unique and captivating designs in Graphic Design? Blending Modes are the key!
Upload Your Images
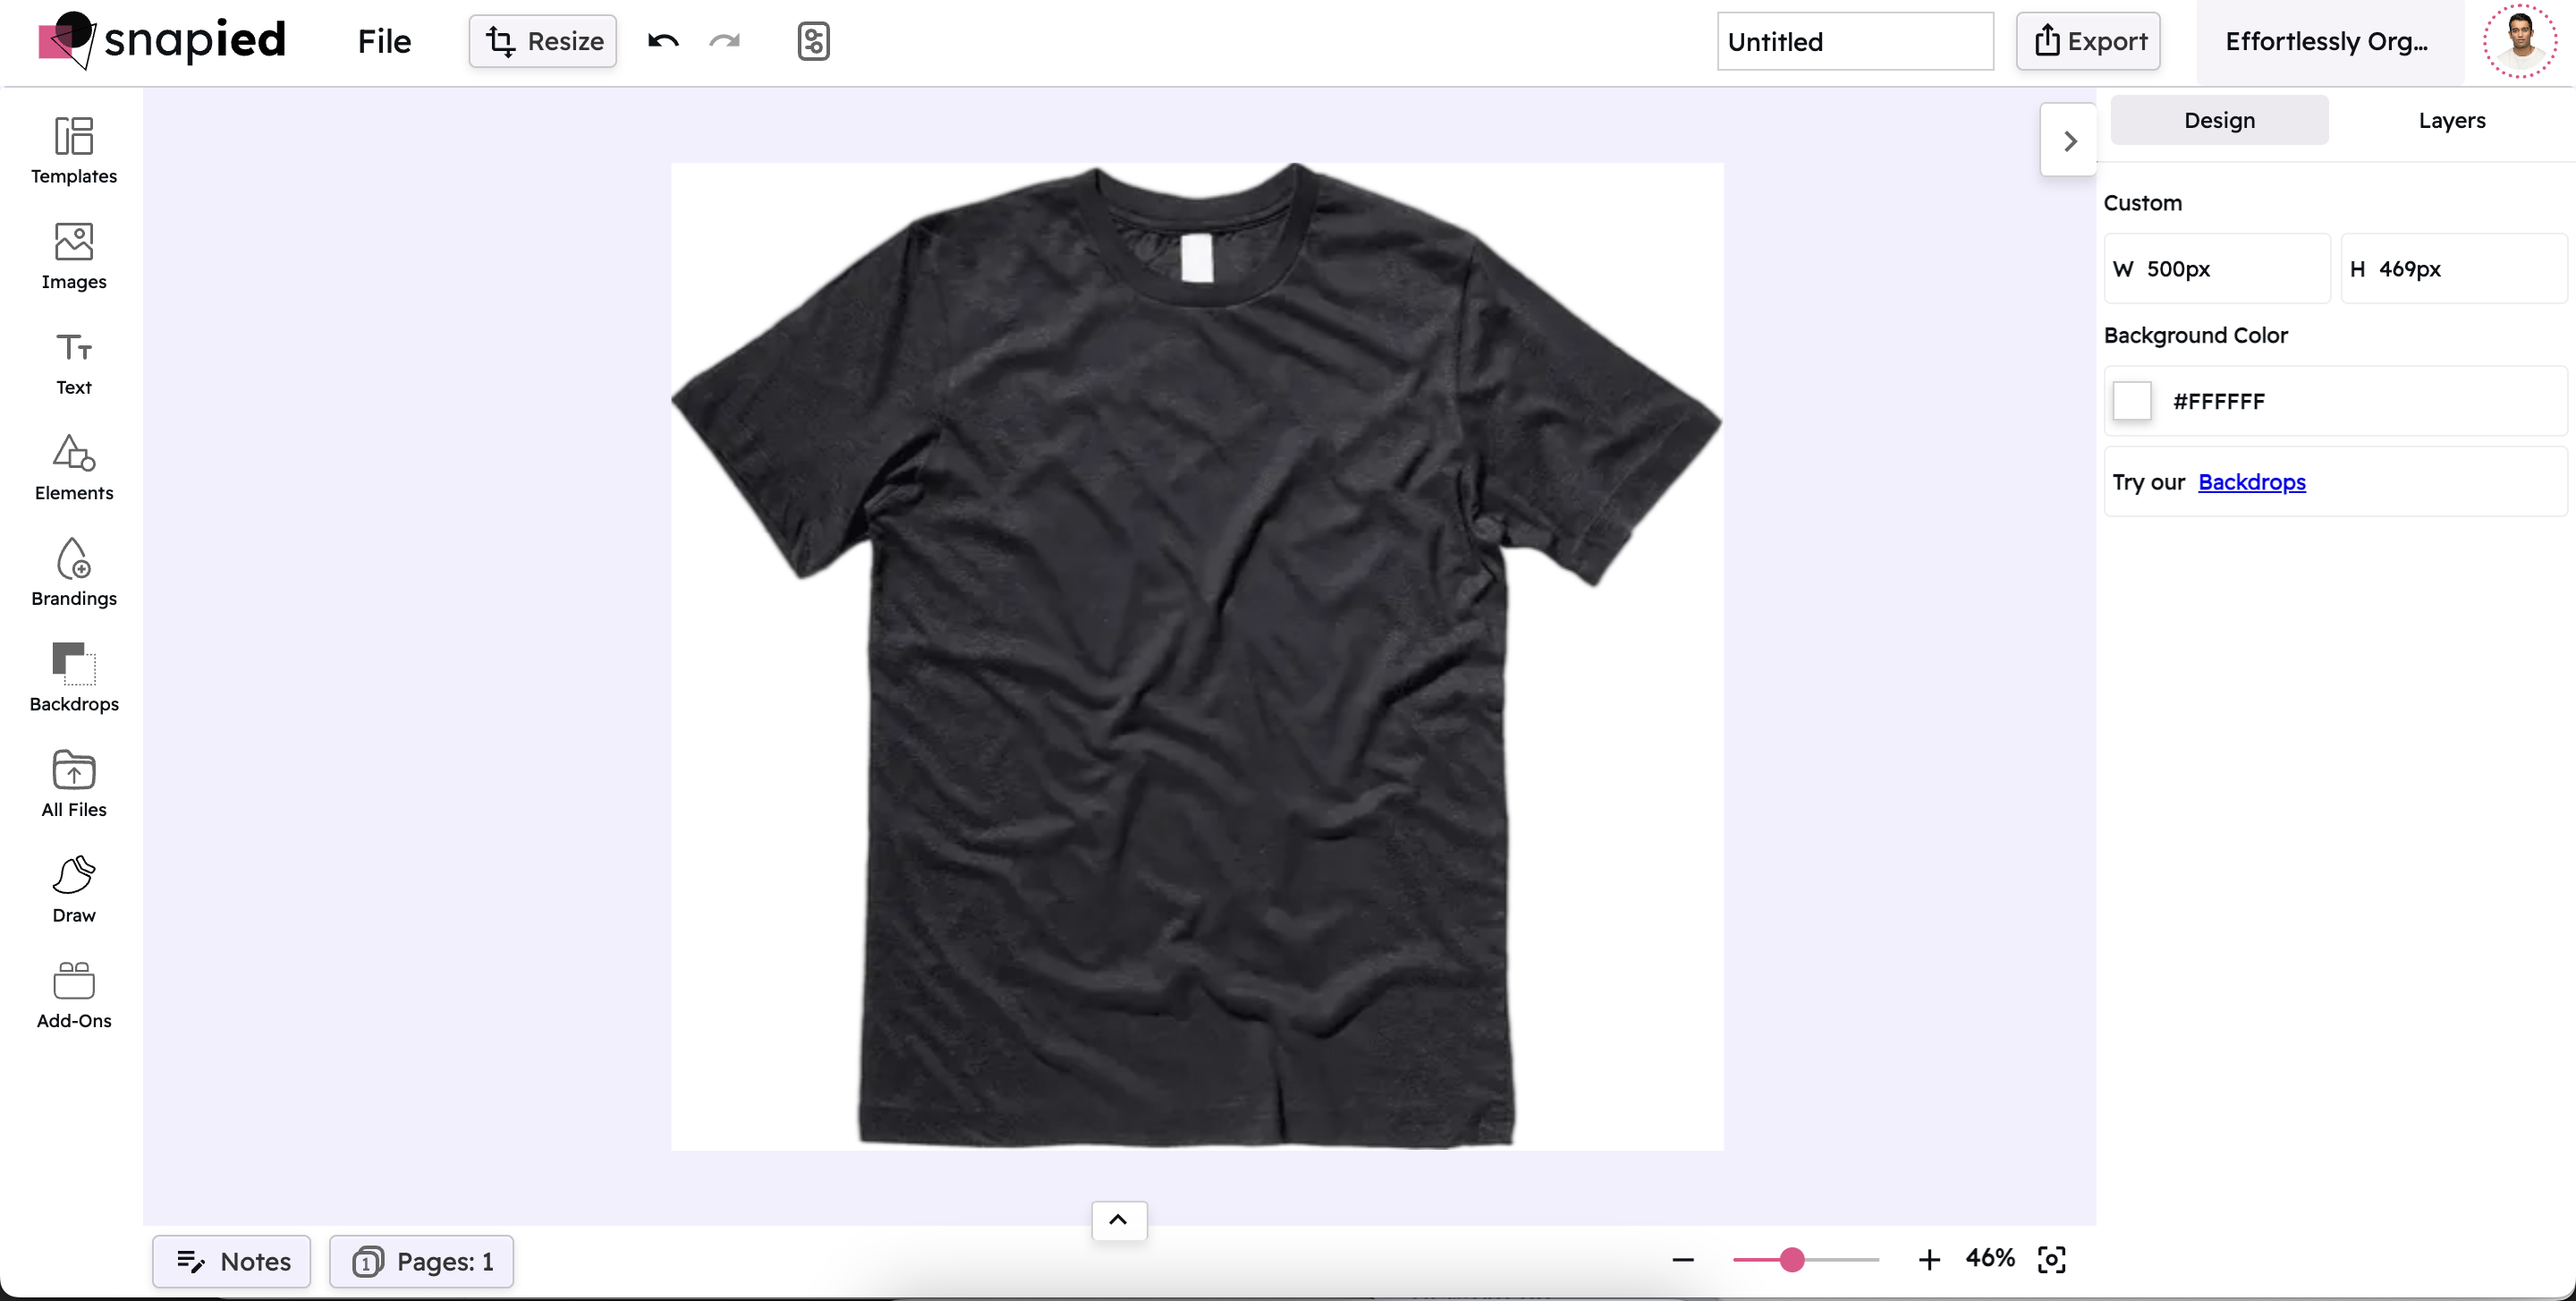
To blend two images, click on the My Files icon on the left side of the editor's interface. Next, upload or drag and drop the photos you wish to blend.
Access Advanced Modes
Once the images are uploaded, they will show up on your canvas. Select one image and click the Edit Image icon located on the top tools menu. Then, scroll down to the bottom of the Effects menu and click the Advance Modes option.
16 Blending Modes Explained
Snapied offers 16 powerful blending modes, each creating a unique effect when combining images.
Normal
Standard mode with no blending effect applied. The top layer simply covers the bottom layer without any interaction.
Darken
Only displays the darker pixels of the layers, creating a darker overall image with enhanced shadows.
Multiply
Multiplies the color values of the layers, resulting in a darker image. Perfect for creating shadow effects.
Color Burn
Increases the contrast of the layers, darkening the image and making it more intense with rich, deep tones.
Lighten
Only displays the lighter pixels, creating a lighter overall image with enhanced highlights.
Screen
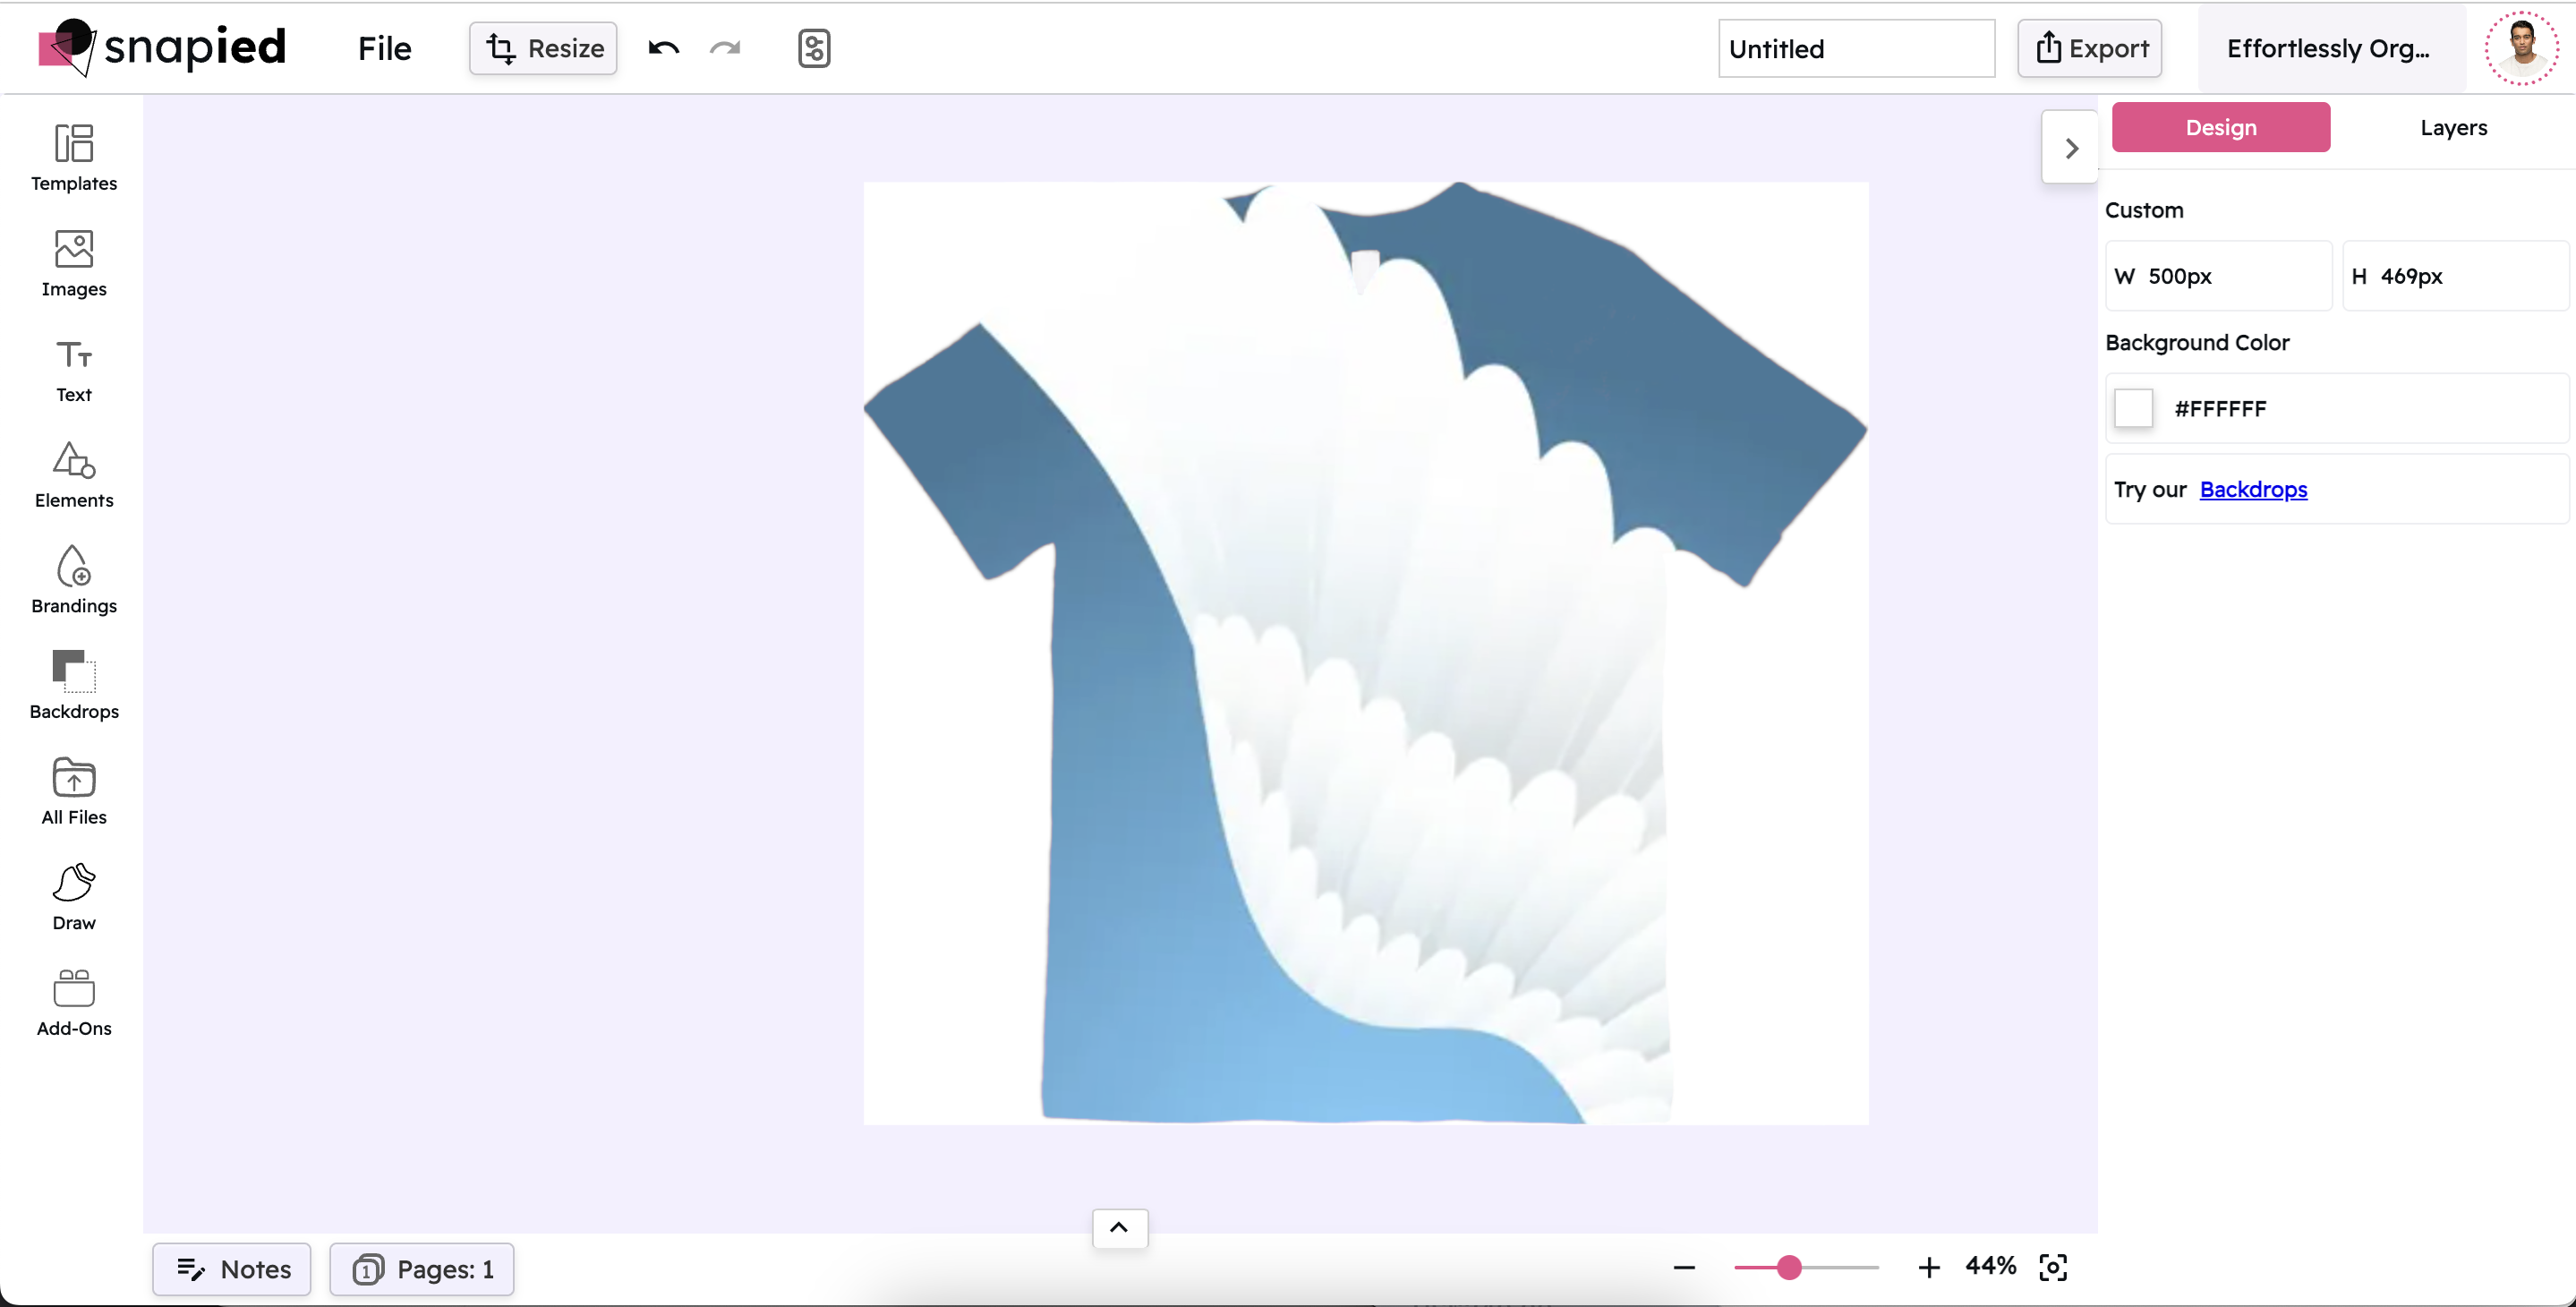
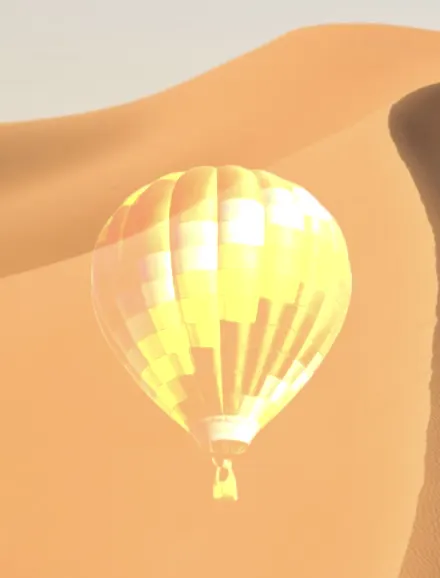
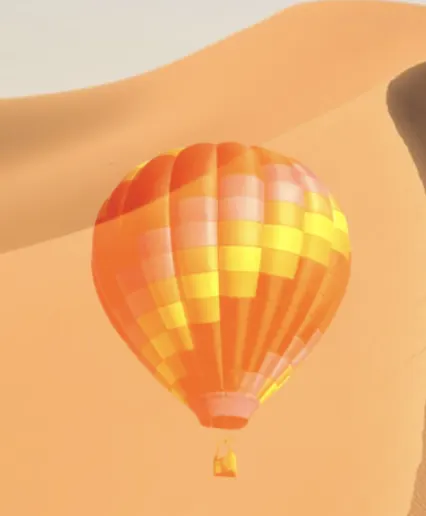
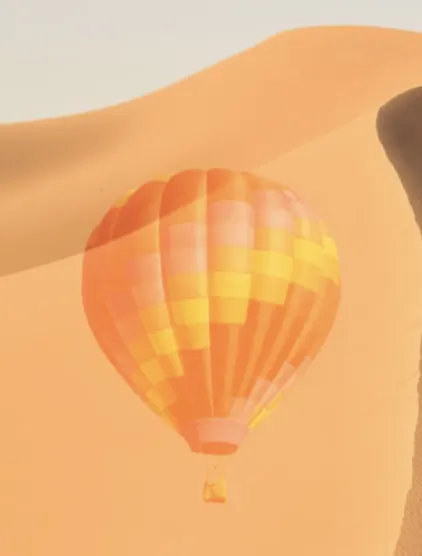
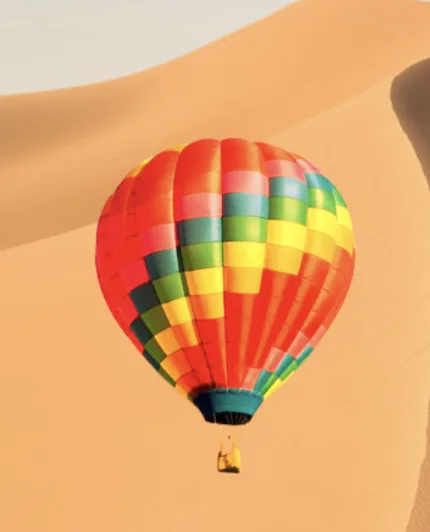
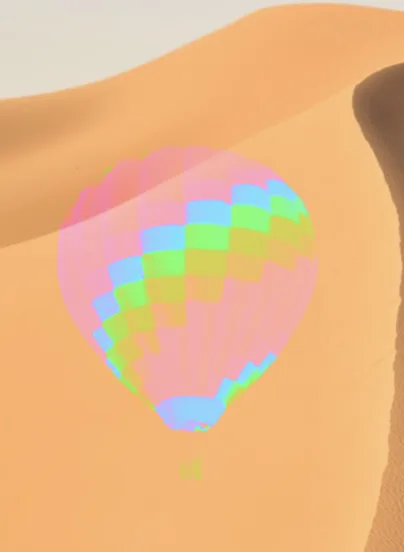
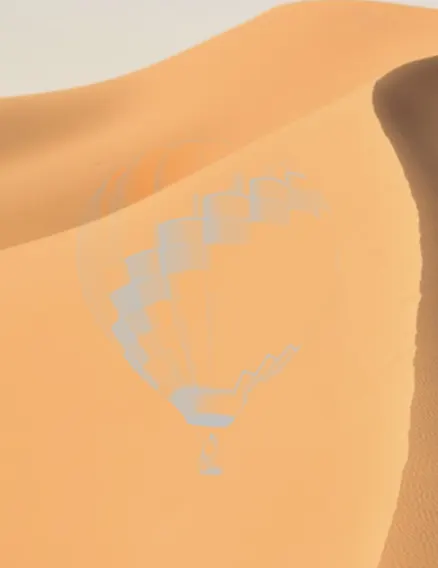
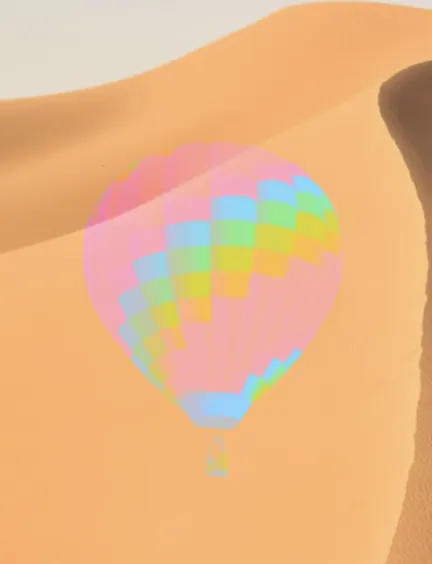
Inverts the color values and multiplies them, creating a lighter image. In the current image we have used screen mode.
Color Dodge
Lightens the image by increasing the brightness of the layers, creating vibrant, high-contrast effects.
Overlay
Combines Multiply and Screen modes, creating a more balanced image with preserved highlights and shadows.
Soft Light
Decreases or increases the brightness of the image, depending on the color value of the layers, creating a gentle, diffused effect.
Hard Light
Combines Multiply and Screen modes in a more intense way, creating dramatic contrast and vivid colors.
Difference
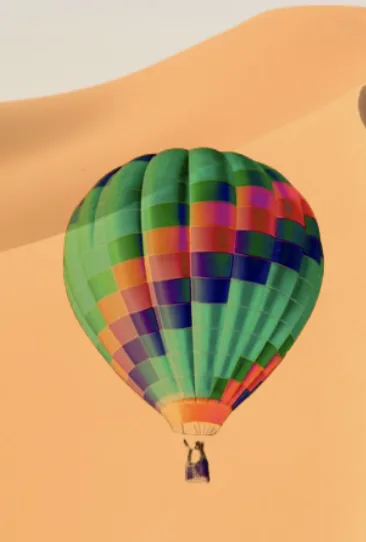
Subtracts the color values of the layers, resulting in a unique effect with inverted colors and striking contrasts.
Exclusion
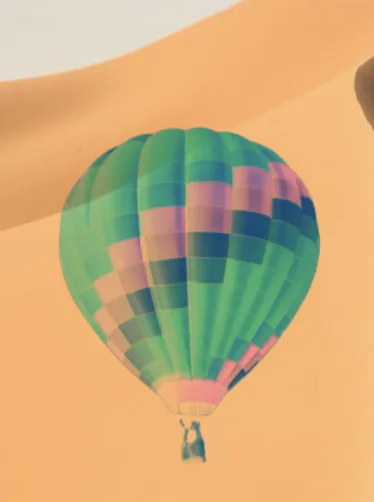
Creates a similar effect to Difference mode, but with a lower contrast, producing a more subtle, stylized look.
Hue
Replaces the color values of the layers, but keeps the brightness and saturation, creating unique color combinations.
Saturation
Only replaces the saturation of the layers, keeping the hue and brightness intact, perfect for enhancing color vibrancy.
Color
Replaces the hue and saturation of the layers, keeping the brightness intact, ideal for colorizing monochrome images.
Luminosity
Only replaces the brightness of the layers, keeping the hue and saturation intact, creating interesting tonal variations.
Pro Tips for Better Blending
Choose High-Contrast Images
Select images with good contrast for more dramatic blending effects. The greater the difference between light and dark areas, the more striking your results.
Try Black & White + Color
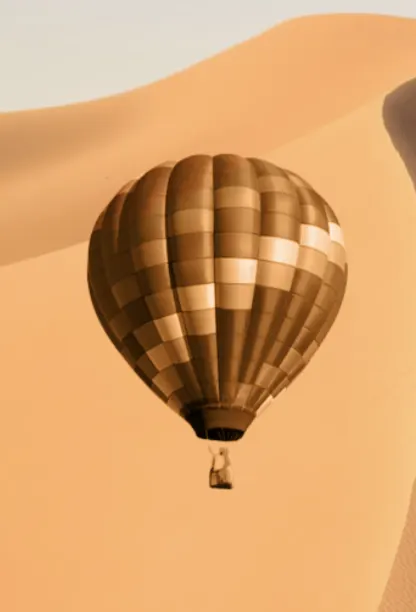
Use a black and white image as one of your layers for interesting effects. This technique creates a unique color mood while maintaining the structure of both images.
Experiment with Different Modes
Don't settle for the first blend mode you try. Each mode creates a unique effect, and the perfect one for your project might be unexpected.
Layer Multiple Blends
For advanced effects, try applying different blend modes to multiple layers. This technique can create complex, professional-looking compositions.
When to Use Each Blending Mode
Add "Blend images" with More Customizations
Enhance your designs with these powerful editing tools that complement our clipart feature.
Crop
Optimize image composition by eliminating useless clutter with the crop tool.
Border
Highlight your creatives using borders of varying colors and widths to attract attention.
Drop Shadow
Add a three-dimensional feel to your designs by enabling shadows.
Resize
Use the image resizer tool to modify your design's dimensions and achieve optimum resolution.
Flip
Confuse and mesmerize your audience by flipping the subject of your design or mirroring images.
Rotate
Spin and orient objects in your designs ideally to bring out their true meaning.
Ready to Create Stunning Blended Images?
Blending Modes are an important aspect of Graphic Design, creating unique and eye-catching designs. With the right use of Blending Modes, you can create stunning designs that stand out!
Are you new to Graphic Design? Let Snapied simplify the process of Blending Modes for you!

