Sharpen Filter: Enhance Detail and Clarity in Your Images
Bring Out Fine Textures and Crisp Edges with Professional Precision
Snapied's Sharpen Filter gives you professional-grade control over image detail and clarity. Whether you need to enhance fine textures, bring out subtle details, or add crispness to slightly blurry photos, our intelligent sharpening tools deliver exceptional results with just a few clicks.
Unlike basic sharpening tools that often create unnatural halos and noise, our advanced algorithm intelligently enhances edge contrast while preserving smooth areas and preventing artifacts. With fine-tuned control over sharpening intensity and radius, you can create everything from subtle detail enhancement to dramatic high-definition effects that make your images truly stand out.
Apply the Sharpen Filter in Three Simple Steps
Enhance image detail with our intuitive process:
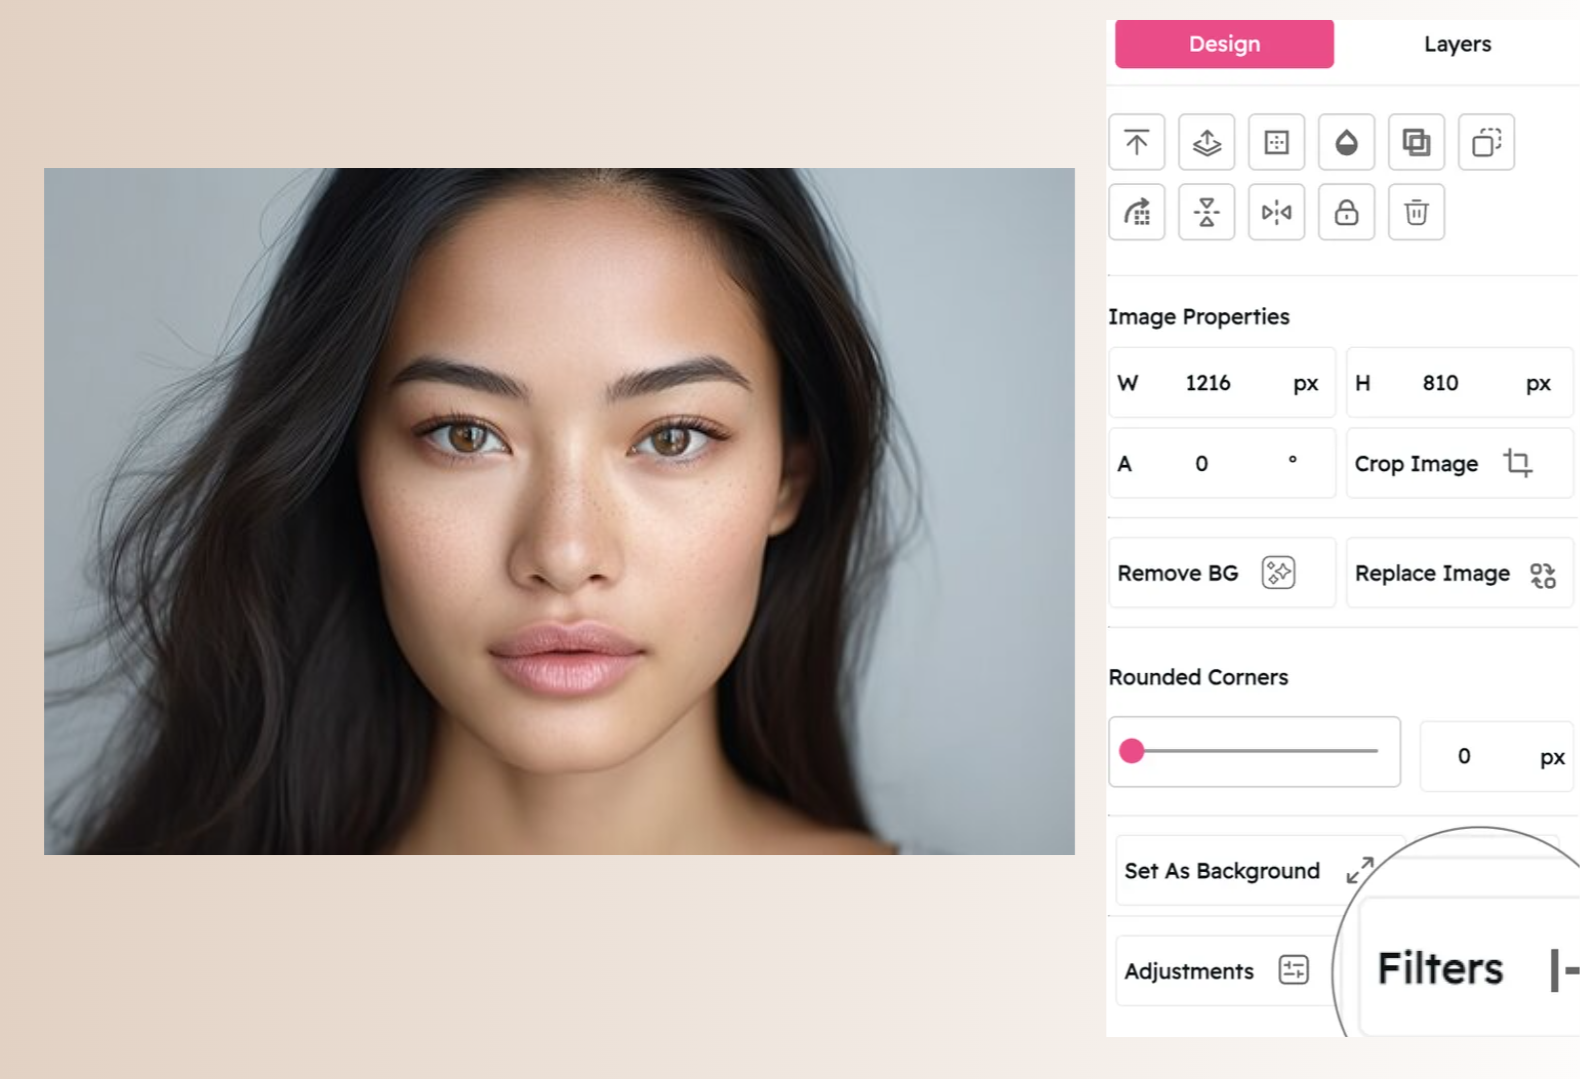
Upload Your Image
Start by uploading the image you want to enhance. Snapied supports all major image formats including JPG, PNG, WebP, and more.
Select the Sharpen Filter
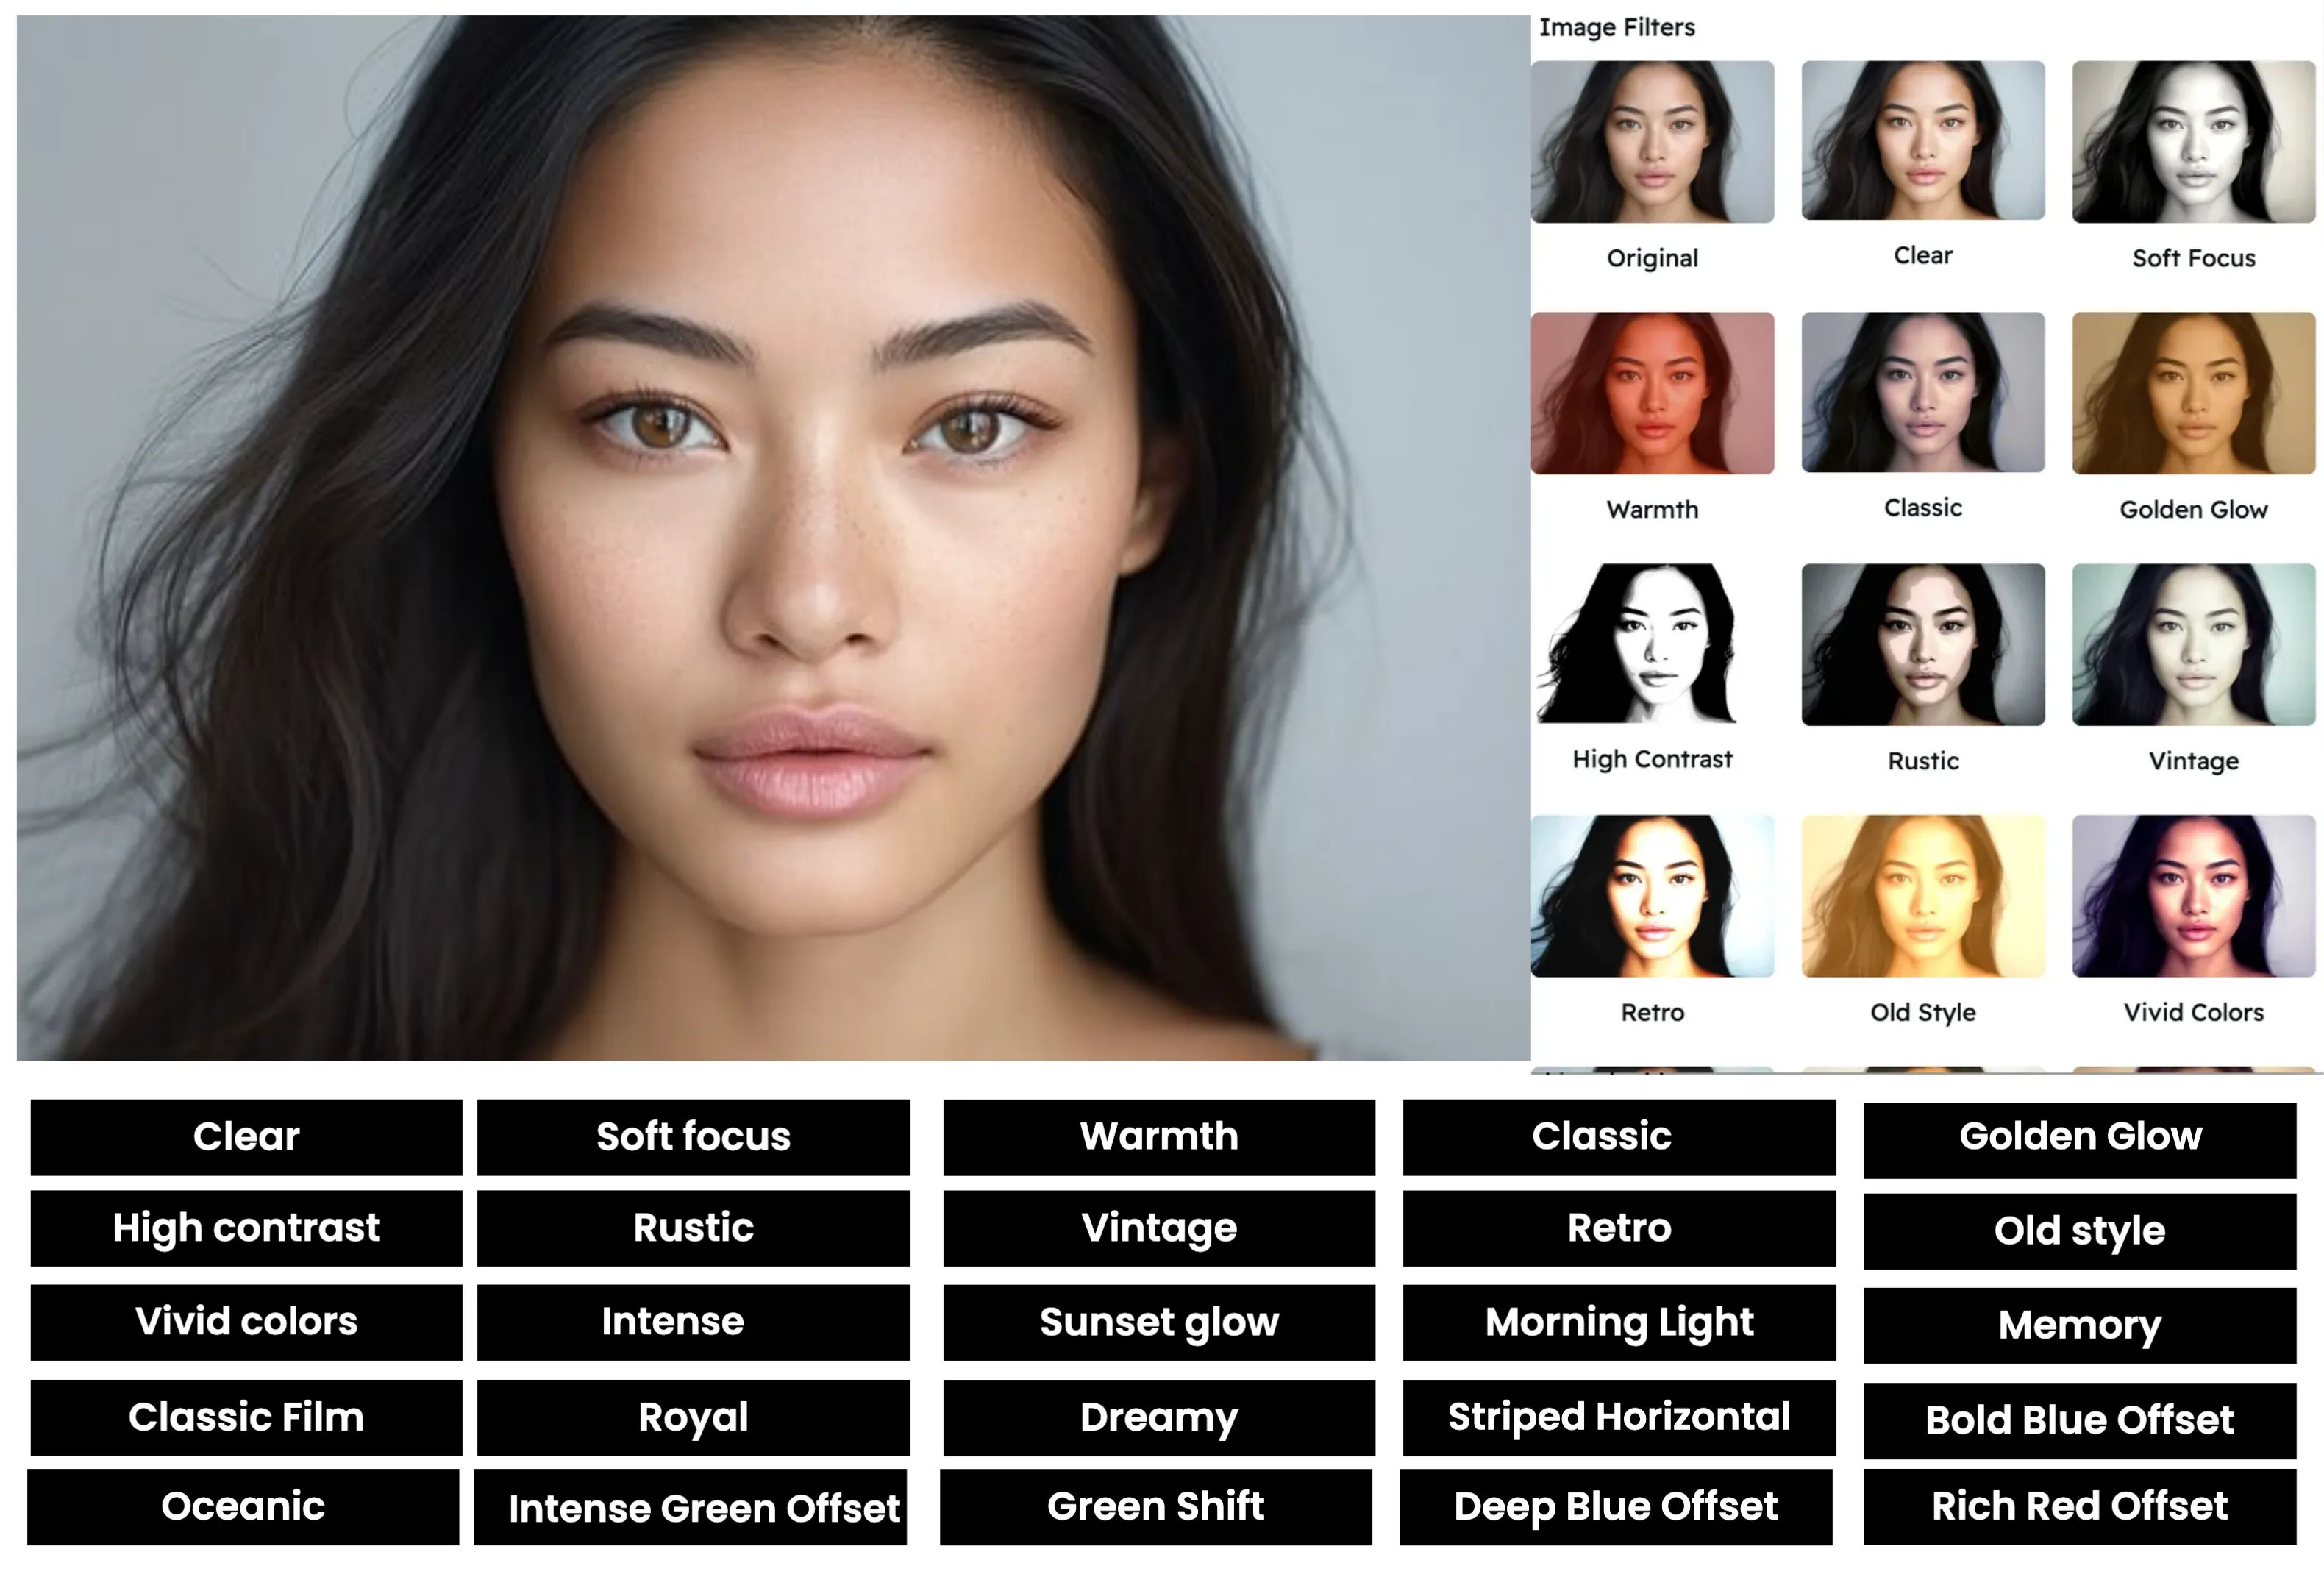
Navigate to the Filters panel and select the "Sharpen" filter from the collection. Choose from several sharpening methods including standard sharpening, unsharp mask, or high pass sharpening. You'll see a real-time preview of how the filter will enhance the details in your image.
Adjust and Apply
Use the sharpening intensity slider to control the strength of the effect. For advanced control, adjust the radius parameter to determine the size of details being enhanced and the threshold to prevent noise amplification in smooth areas. For selective sharpening, use the mask tool to define which areas should be sharpened. Once you're happy with the result, click "Apply" to finalize your changes.

Interactive Sharpen Filter Demo
See the difference our Sharpen filter makes with this before and after comparison
Sharpen Filter Examples
See how the Sharpen filter enhances different types of images
Product Photography
Enhance product details and textures with precise sharpening that highlights materials, craftsmanship, and fine details, creating professional e-commerce images that showcase products at their best.
Landscape Photography
Bring out intricate details in landscape photography with selective sharpening that enhances textures in foliage, rock formations, and architectural elements while maintaining natural-looking results.
Document and Text
Improve legibility of scanned documents, screenshots, and text-heavy images with targeted sharpening that makes text crisp and clear without introducing artifacts or distortion.
Before & After: See the Difference
Examine the impact of the Sharpen filter on image detail and clarity
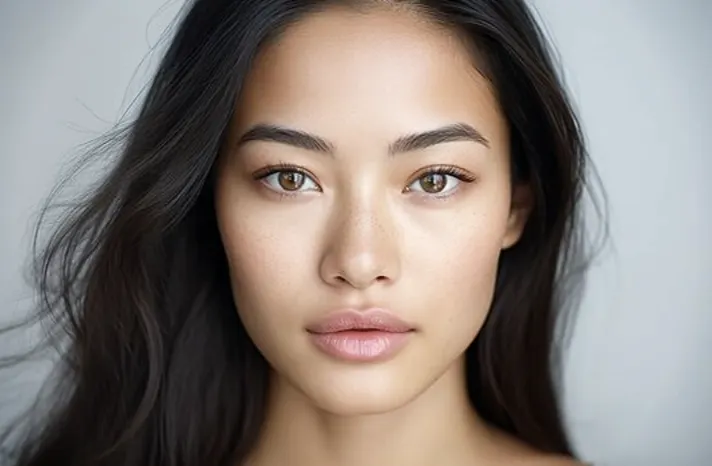
Before Sharpen Filter
Original image with standard detail level. While the image contains all the necessary information, fine details appear somewhat soft or indistinct, lacking the crisp definition that makes visuals truly pop and engage viewers.
After Sharpen Filter
With the Sharpen filter applied, the image gains significant detail enhancement. Notice how textures become more defined, edges appear crisper, and fine details are more visible. The enhanced clarity creates a more professional, visually engaging image with improved definition and impact, while still maintaining a natural appearance.
Creative Uses for the Sharpen Filter
Discover innovative ways to use the Sharpen filter in your designs
Architectural Detail
Enhance architectural photography by sharpening structural details, textures, and patterns to create striking images that showcase design elements and craftsmanship with exceptional clarity.
Try It NowMacro Photography
Reveal intricate details in close-up and macro photography by applying targeted sharpening that brings out textures and patterns invisible to the naked eye, creating fascinating visual explorations.
Try It NowPhoto Restoration
Breathe new life into old or slightly blurry photographs by carefully applying sharpening to recover lost detail and clarity, making precious memories look their best while preserving their authentic character.
Try It NowGraphic Design
Enhance the impact of graphic design elements by selectively sharpening key visual components to create hierarchy, direct attention, and add professional polish to logos, illustrations, and digital artwork.
Try It NowPro Tips for the Sharpen Filter
Get the most out of Snapied's Sharpen filter with these expert techniques
Sharpen at 100% View
Always evaluate sharpening effects at 100% zoom level (actual pixels) to accurately see the impact on your image. Viewing at smaller zoom levels can hide artifacts or make sharpening appear less pronounced than it actually is. Snapied's interface allows you to easily toggle between different zoom levels while adjusting your sharpening settings.
Consider Output Medium
Adjust sharpening based on your final output medium. Images for web display typically need more sharpening than those for print, as screens tend to soften details. For social media or websites, apply slightly stronger sharpening (15-25% intensity). For print materials, use more moderate sharpening (10-15% intensity) to avoid artifacts that become visible on paper. If your image will be viewed on multiple mediums, create versions optimized for each output.
Beware of Oversharpening
While sharpening can dramatically improve an image, excessive sharpening creates unnatural halos around edges, amplifies noise, and produces a harsh, artificial look. Start with conservative settings and gradually increase until you achieve the desired effect. Pay special attention to smooth areas like skin, skies, or out-of-focus backgrounds, which can quickly reveal oversharpening artifacts.
Sharpen as the Final Step
Apply sharpening as one of the last steps in your editing workflow, after adjusting exposure, contrast, and color. This ensures that you're sharpening the final image data and prevents other adjustments from potentially amplifying or diminishing your sharpening effects. The exception is noise reduction, which should be applied before sharpening to prevent enhancing unwanted noise.
Related Filters
Clarity
Enhance image definition and detail with professional-grade clarity adjustments that make your visuals pop.
Learn More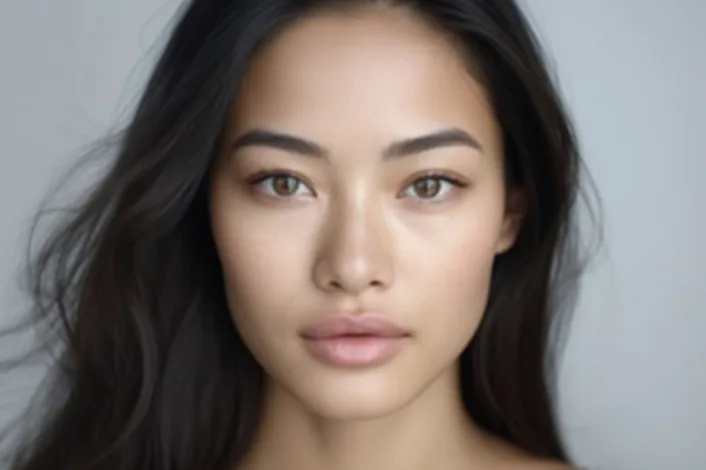
Blur
Create depth and focus in your images with professional-grade blur effects that direct attention and add dimension.
Learn More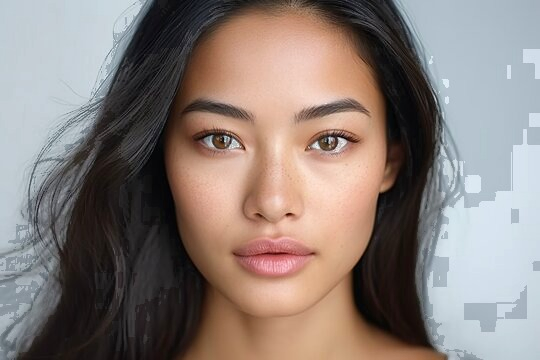
HDR
Create stunning high-dynamic-range effects that enhance detail in both shadows and highlights.
Learn MoreReady to Enhance Detail and Clarity in Your Images?
Transform your visuals with the professional-grade Sharpen filter.
Your images deserve that perfect level of detail and clarity.