Exposure Filter: Perfect Brightness in Your Images
Rescue Underexposed Photos and Recover Overexposed Areas with Precision
Snapied's Exposure Filter gives you professional-grade control over the brightness of your images. Whether you need to rescue underexposed photos taken in low light or recover detail from overexposed areas, our intelligent exposure adjustment tool delivers exceptional results with just a few clicks.
Unlike basic brightness tools that simply lighten or darken the entire image uniformly, our advanced algorithm intelligently preserves contrast and color fidelity while adjusting exposure. With fine-tuned control over brightness levels, you can create perfectly balanced images that showcase every detail exactly as you intended.
Apply the Exposure Filter in Three Simple Steps
Perfect your image brightness with our intuitive process:
Upload Your Image
Start by uploading the image you want to enhance. Snapied supports all major image formats including JPG, PNG, WebP, and more.
Select the Exposure Filter
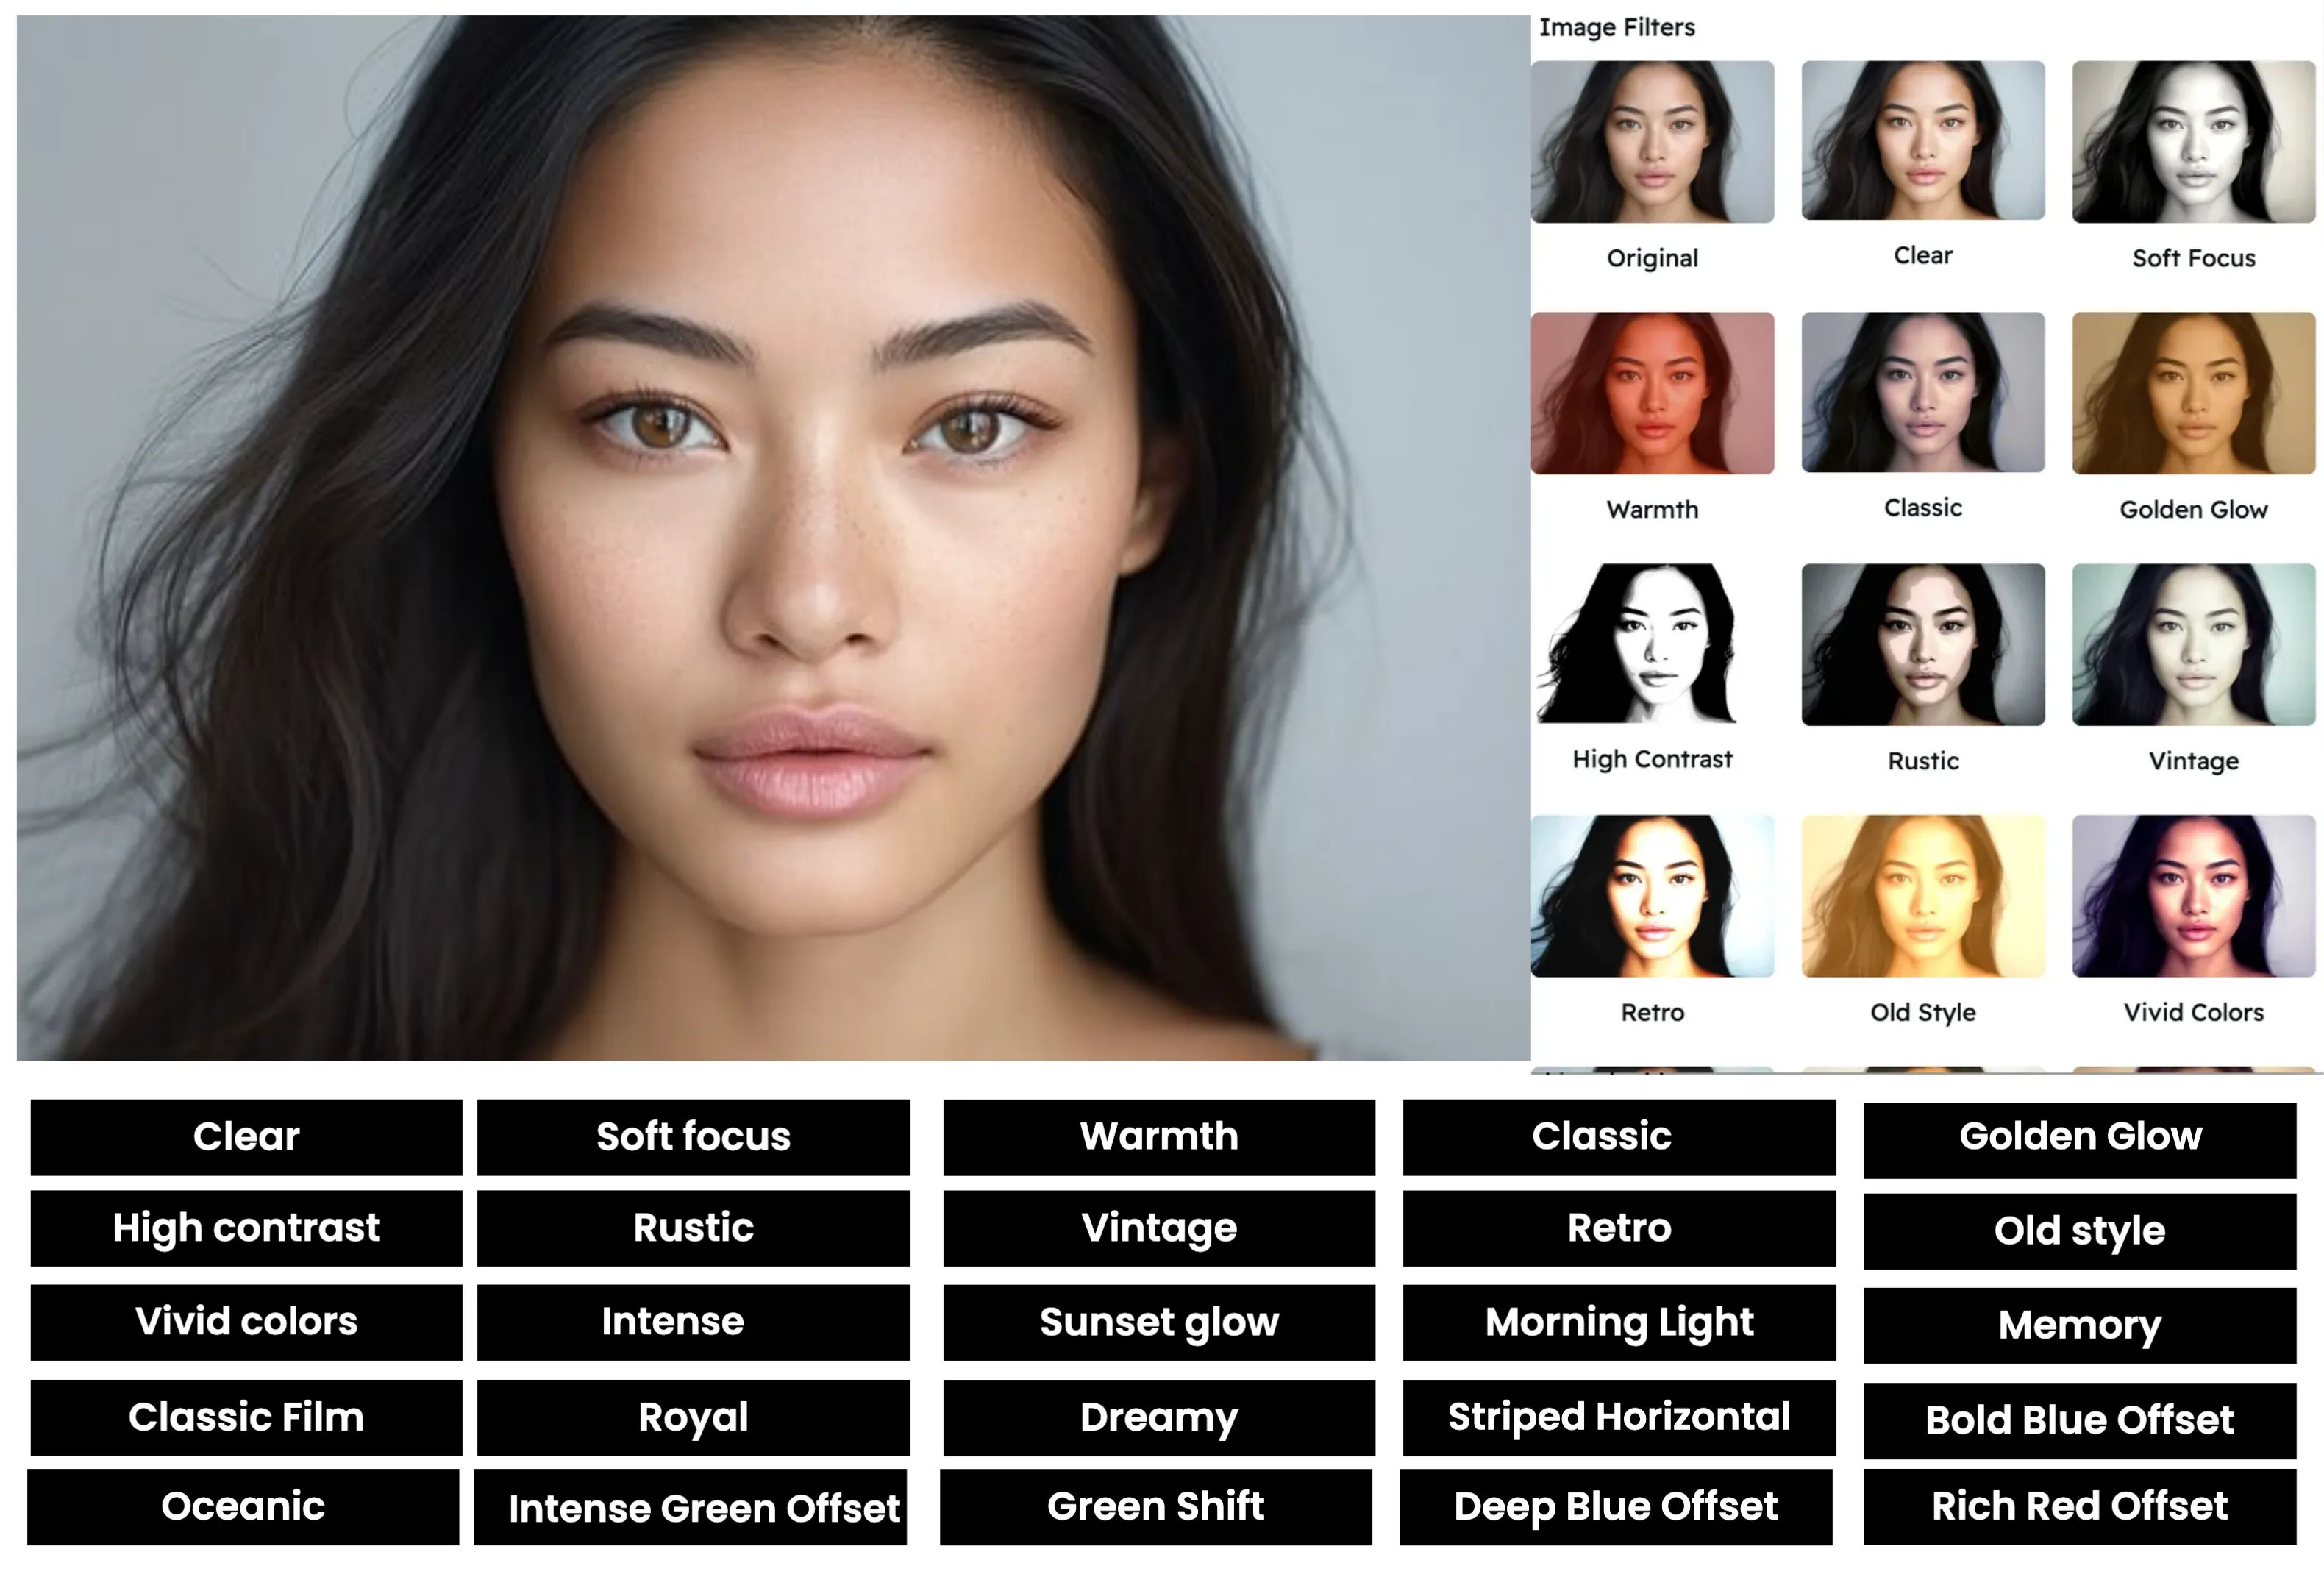
Navigate to the Filters panel and select the "Exposure" filter from the collection. You'll see a real-time preview of how the filter will adjust the brightness in your image.
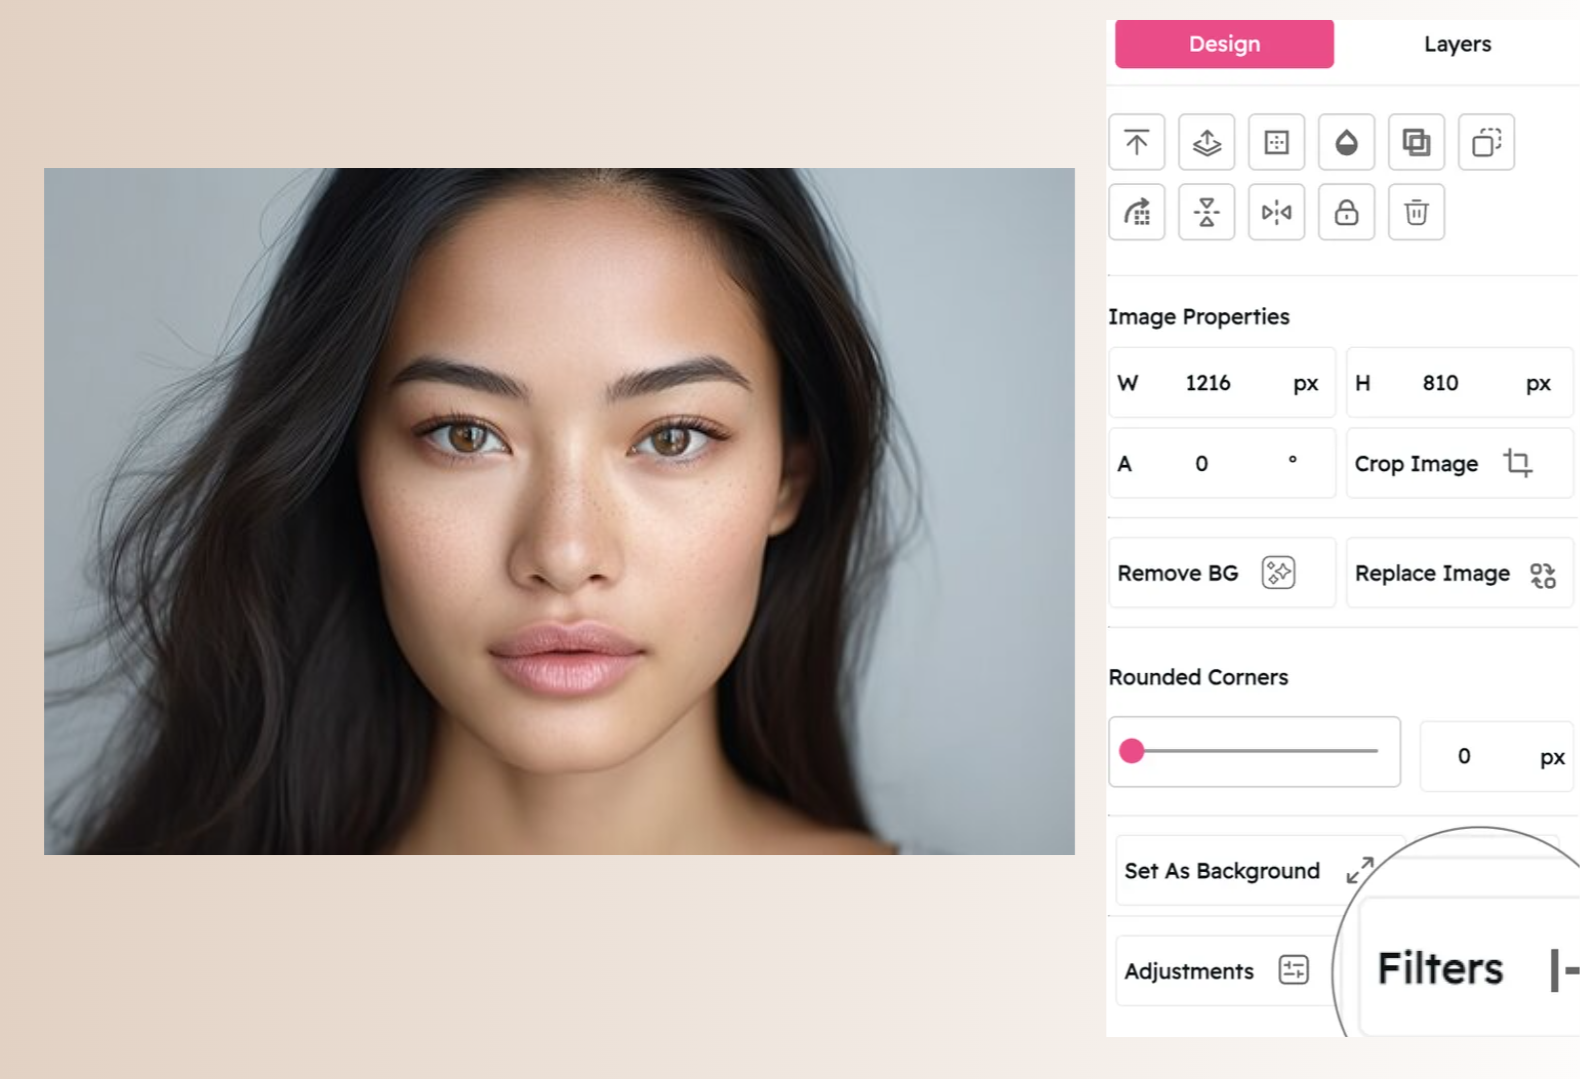
Adjust and Apply
Use the exposure slider to increase or decrease the brightness in your image. Move it right to brighten underexposed photos, or left to recover detail in overexposed areas. Our intelligent algorithm preserves contrast and color fidelity even with significant exposure adjustments. Once you're happy with the result, click "Apply" to finalize your changes.
Interactive Exposure Filter Demo
See the difference our Exposure filter makes with this before and after comparison
Exposure Filter Examples
See how the Exposure filter enhances different types of images
Low Light Photography
Rescue underexposed photos taken in low light conditions by increasing exposure to reveal hidden details while maintaining natural contrast and color fidelity.
Backlit Photography
Balance challenging backlit scenes by selectively adjusting exposure to maintain detail in both highlights and shadows, creating a more balanced, professional result.
Product Photography
Create professional product images with perfect exposure that accurately represents colors and textures while highlighting key features and details.
Before & After: See the Difference
Examine the impact of the Exposure filter on image brightness and detail
Before Exposure Filter
Original underexposed image with limited visibility in shadow areas. Important details are hidden in darkness, and the overall image appears dull and lacks impact due to insufficient light.
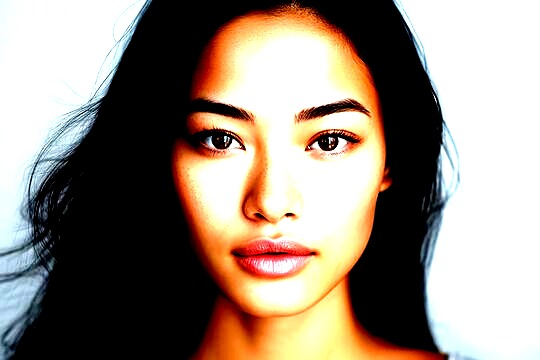
After Exposure Filter
With the Exposure filter applied, the image gains optimal brightness levels. Notice how previously hidden details in shadow areas become visible, colors appear more vibrant, and the overall image has greater visual impact while maintaining a natural, balanced look.
Creative Uses for the Exposure Filter
Discover innovative ways to use the Exposure filter in your designs
High-Key Photography
Create bright, airy high-key images with increased exposure for fashion photography, product shots, or minimalist compositions that convey a light, positive mood.
Try It NowLow-Key Photography
Craft dramatic, moody low-key images with reduced exposure for artistic portraits, conceptual photography, or noir-inspired visuals that create intrigue and atmosphere.
Try It NowText Overlay Preparation
Adjust exposure to create the perfect background for text overlays in social media posts, advertisements, or presentations, ensuring optimal readability and visual harmony.
Try It NowSilhouette Creation
Strategically reduce exposure to create striking silhouettes against bright backgrounds for dramatic, artistic compositions that focus on shape and form.
Try It NowPro Tips for the Exposure Filter
Get the most out of Snapied's Exposure filter with these expert techniques
Check Your Histogram
Before making exposure adjustments, check your image's histogram in Snapied's advanced tools. A well-exposed image typically shows a balanced distribution across the histogram without significant clipping at either end. If the histogram is heavily skewed to the left (underexposed) or right (overexposed), use the exposure filter to bring it toward the center for optimal results.
Preserve Important Details
When adjusting exposure, pay special attention to the most important areas of your image. For portraits, ensure proper exposure of faces and eyes. For landscapes, maintain detail in both sky and land. If you can't achieve perfect exposure across the entire image, prioritize the subject or focal point and use Snapied's selective adjustment tools to fine-tune specific areas.
Combine with Other Adjustments
For professional-quality results, combine exposure adjustments with other filters. After correcting exposure, fine-tune contrast to maintain image definition. Adjust highlights and shadows independently to recover detail in extreme areas. Finally, consider a subtle clarity adjustment to enhance mid-tone contrast for a polished, professional look.
Consider Your Output Medium
Adjust exposure with your final output medium in mind. Images for digital display (websites, social media) often benefit from slightly higher exposure than those intended for print. If your image will be viewed on mobile devices, consider that many screens have variable brightness settings, so aim for an exposure level that works well across different viewing conditions.
Related Filters
Contrast
Add depth and dimension to your images with professional-grade tonal adjustments that make details pop.
Learn More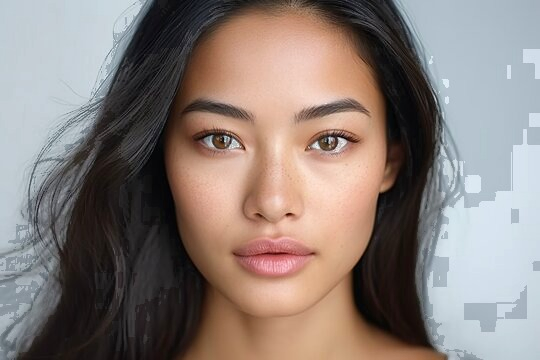
HDR
Create stunning high-dynamic-range effects that enhance detail in both shadows and highlights.
Learn More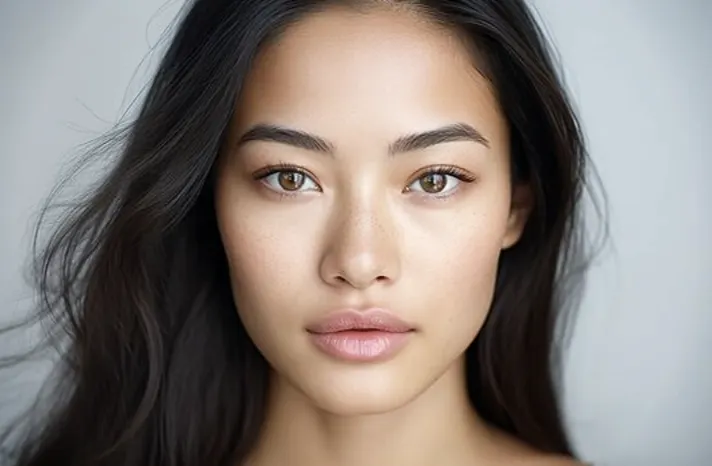
Clarity
Enhance image definition and detail with professional-grade clarity adjustments that make your visuals pop.
Learn MoreReady to Perfect the Brightness in Your Images?
Transform your visuals with the professional-grade Exposure filter.
Your images deserve that perfect level of brightness and detail.