Blur Effect: Add Depth and Focus to Your Images
Create Professional Depth of Field and Soft Focus Effects
Snapied Blur Control gives you the power to selectively soften your images for artistic effect. Create depth of field, draw attention to specific elements, or add a dreamy atmosphere to your designs with precise blur adjustments.
Unlike basic blur filters, our tool offers fine-tuned control with a range from 0 to 5, allowing you to create subtle softening or dramatic focus effects. Perfect for portraits, product photography, and creating professional-looking designs with minimal effort.

Apply Blur Effect in Four Simple Steps
Add professional depth and focus to your images with our intuitive blur tool:
Upload Your Image
Start by uploading the image you want to enhance. Snapied supports all major image formats including JPG, PNG, WebP, and more.
Access Adjustment Panel
Select your image and click on the Adjustments icon in the left sidebar. This will open the comprehensive adjustment panel.
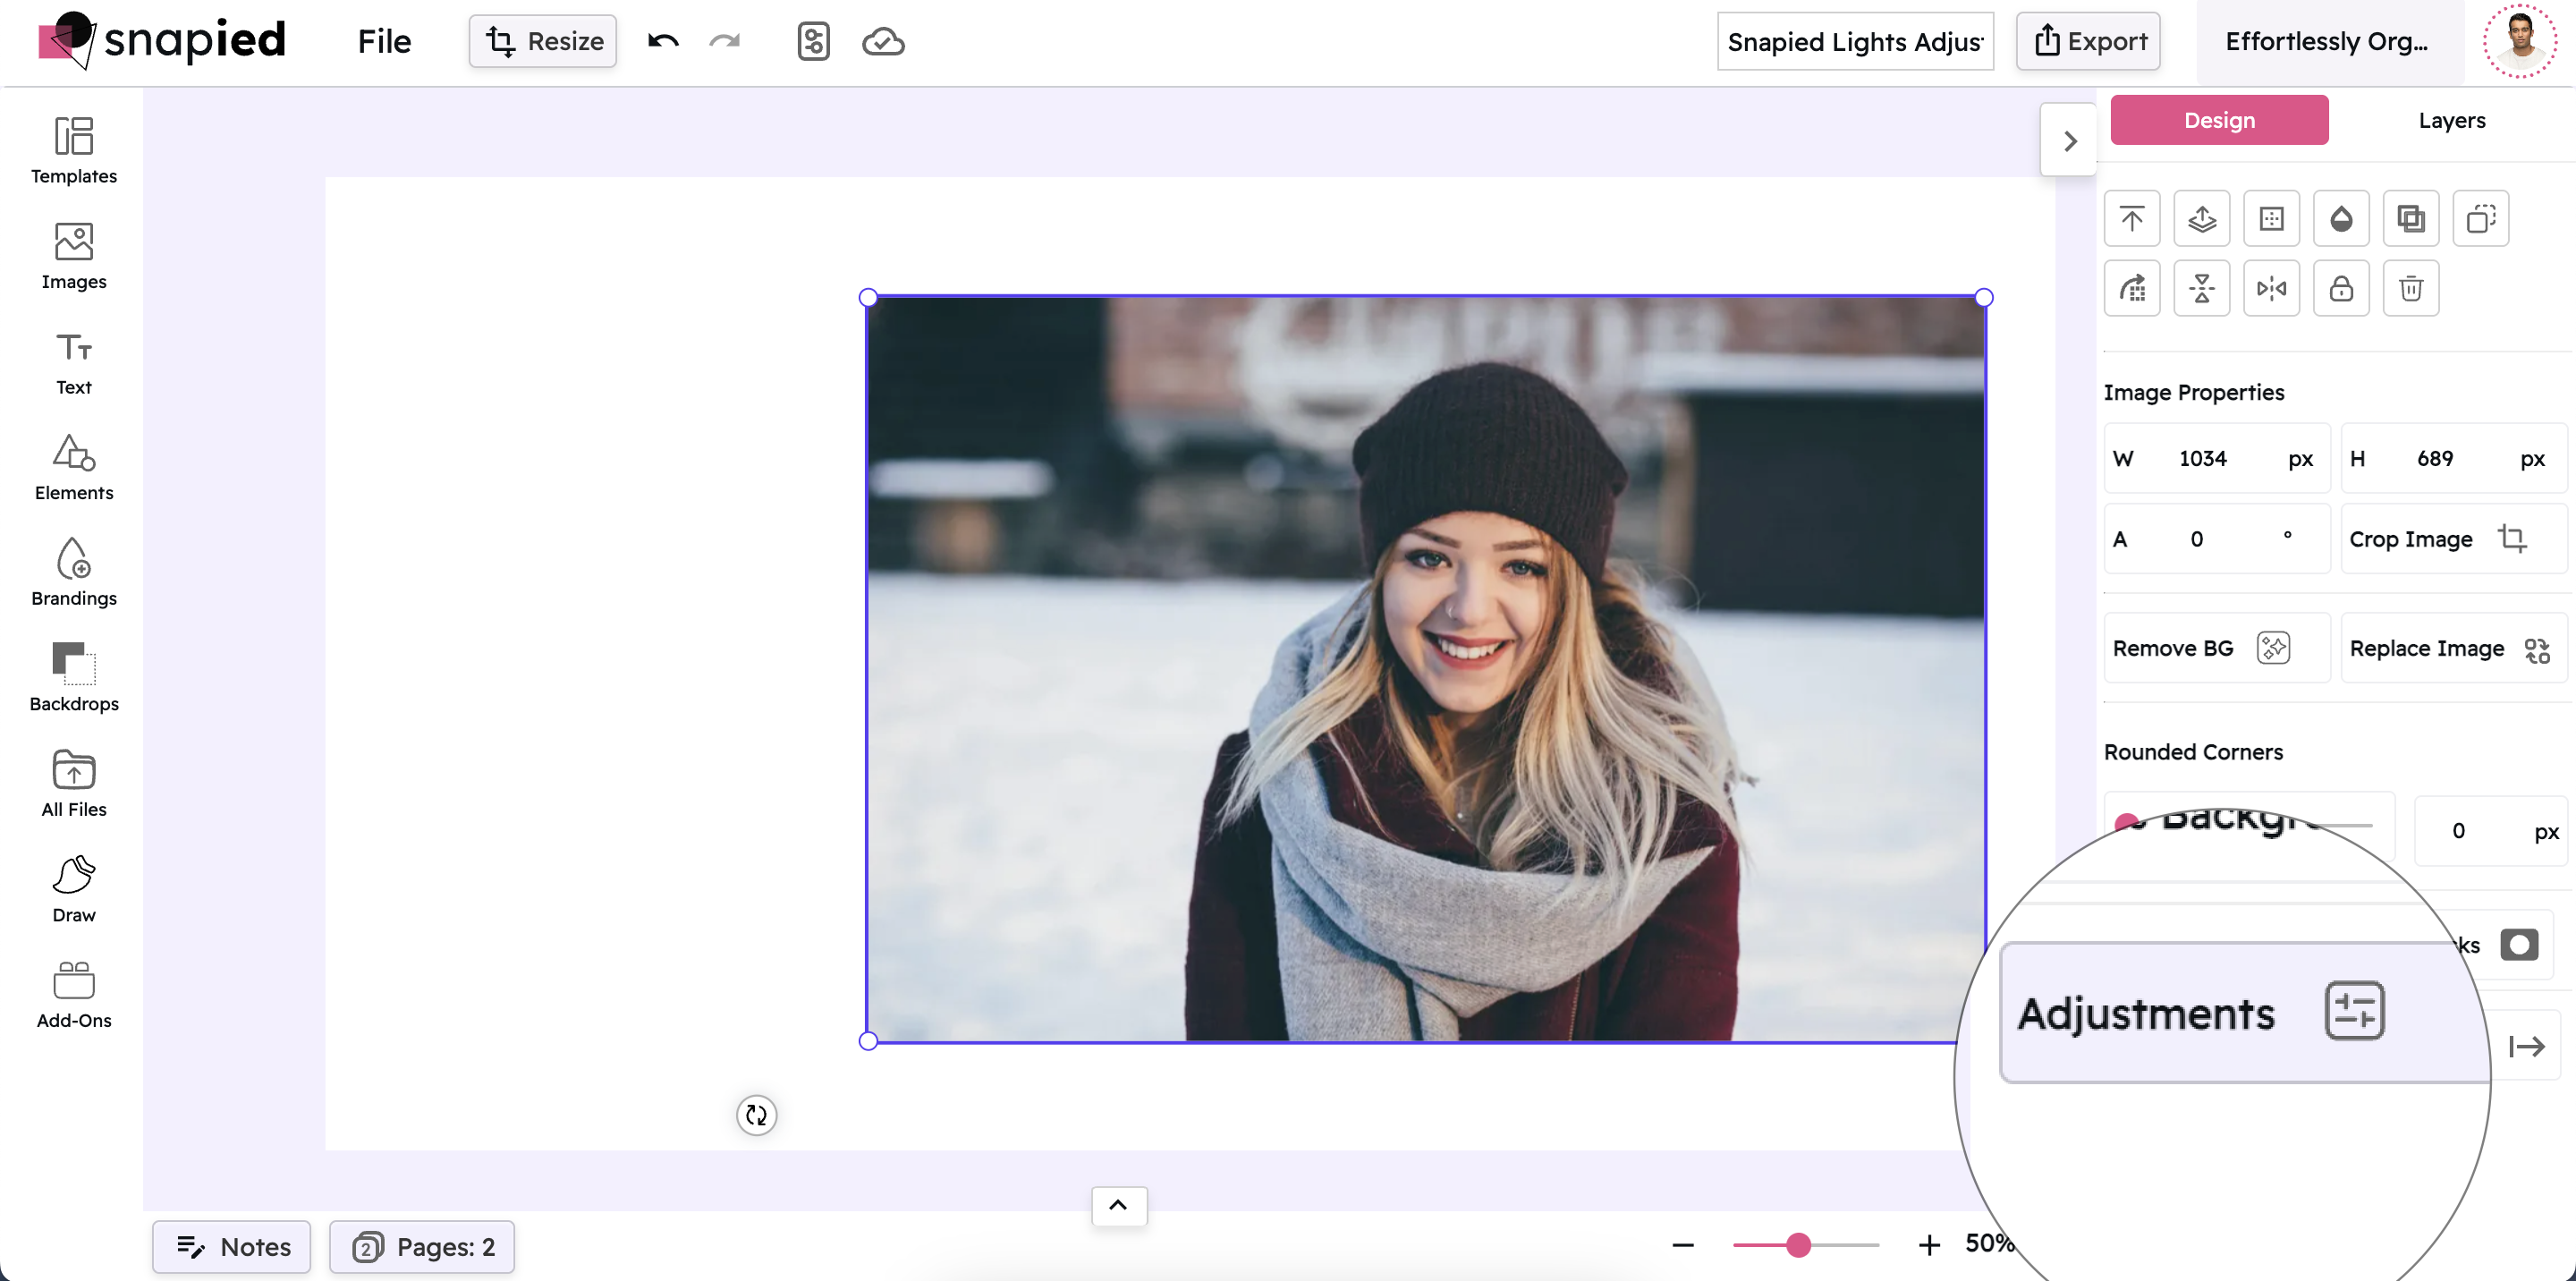
Open Blur Control
In the Adjustments panel, locate and click on the "Lights" section to expand the lighting controls. Find and expand the "Blur Effect" option to access the blur slider.

Adjust and Apply
Use the intuitive blur slider to set the intensity of the effect. Move the slider to the right to increase blur and create a softer focus. Each change is previewed in real-time, allowing you to see exactly how your modifications affect the image.

Interactive Blur Control
Experience our intuitive blur slider that gives you precise control over your image's focus and depth

Blur Effect Examples
See how different blur settings can transform your images

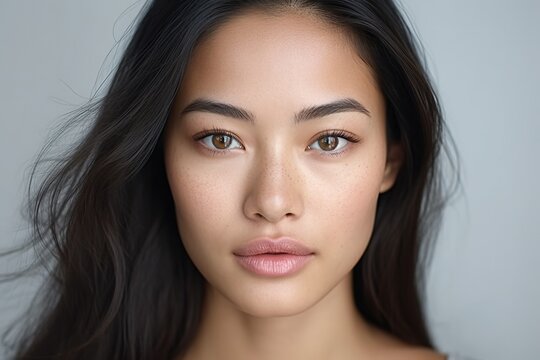
Subtle Blur
A light blur effect adds a gentle softness without losing detail. Perfect for portraits or creating a slightly dreamy atmosphere while maintaining image clarity.

Medium Blur
A moderate blur creates a more noticeable softening effect that's ideal for backgrounds or creating depth of field in product photography and portraits.

Strong Blur
A significant blur effect creates a dramatic soft focus that's perfect for backgrounds, creating abstract effects, or achieving a dreamy, ethereal quality in your images.
Before & After: See the Difference
Examine the impact of blur on image focus and depth

Before Blur
Original image with all elements in sharp focus. Notice how all elements compete for attention equally.

After Selective Blur
With selective blur applied to the background, the main subject stands out more prominently, creating a professional depth of field effect.
Creative Uses for Blur Effect
Discover innovative ways to use the blur effect in your designs

Portrait Photography
Create professional-looking portraits by applying selective blur to backgrounds. This technique draws attention to your subject and creates a pleasing depth of field effect similar to what you'd achieve with expensive camera lenses.
Try It Now
Text Overlay Backgrounds
Apply blur to images that will serve as backgrounds for text overlays. Blurring helps reduce visual complexity and improves text readability while maintaining the mood and colors of the original image.
Try It Now
Product Photography
Enhance product photos by blurring backgrounds to eliminate distractions and make your products stand out. This technique is especially effective for e-commerce and marketing materials.
Try It Now
Abstract Art Creation
Transform ordinary images into artistic abstractions by applying strong blur effects. This technique can create beautiful color gradients and shapes that serve as unique backgrounds or standalone art pieces.
Try It NowPro Tips for Blur Effect
Get the most out of Snapied's blur control with these expert techniques
Use Selective Blur
For the most professional results, apply blur selectively to specific areas rather than the entire image. This creates a natural depth of field effect that draws attention to your main subject.
Combine with Other Adjustments
For more impactful results, combine blur with other adjustments like increased saturation or contrast on your main subject. This creates even more separation between the blurred and sharp areas of your image.
Consider Your Content
Different types of images benefit from different blur intensities. Portraits often look best with moderate background blur (2-3), while product photos might need stronger blur (3-4) to eliminate distracting backgrounds completely.
Create Gradient Blur
For a more natural look, try creating a gradient blur that gradually increases in intensity from foreground to background. This mimics the natural depth of field produced by camera lenses and creates a more professional result.
Related Features


Vignette
Add a subtle darkening around the edges to draw attention to the center of your image.
Learn MoreReady to Add Professional Focus to Your Images?
Take complete control of your image's depth and focus with our powerful blur effect.
Your designs deserve professional depth and dimension.