Sharpen: Enhance Image Clarity and Detail
Make Your Photos Crisp and Professional
Snapied Sharpen Control gives you the power to enhance the clarity and detail in your images. Bring out fine textures, make text more legible, and give your photos that professional edge with precise sharpening adjustments.
Unlike basic sharpening tools, Snapied's advanced algorithm intelligently enhances edges while minimizing noise and artifacts. With a range from 0 to 1, you can apply subtle refinements or dramatic enhancements to create exactly the look you want.
Sharpen Your Images in Four Simple Steps
Enhance clarity and detail with our intuitive sharpening tool:
Upload Your Image
Start by uploading the image you want to enhance. Snapied supports all major image formats including JPG, PNG, WebP, and more.

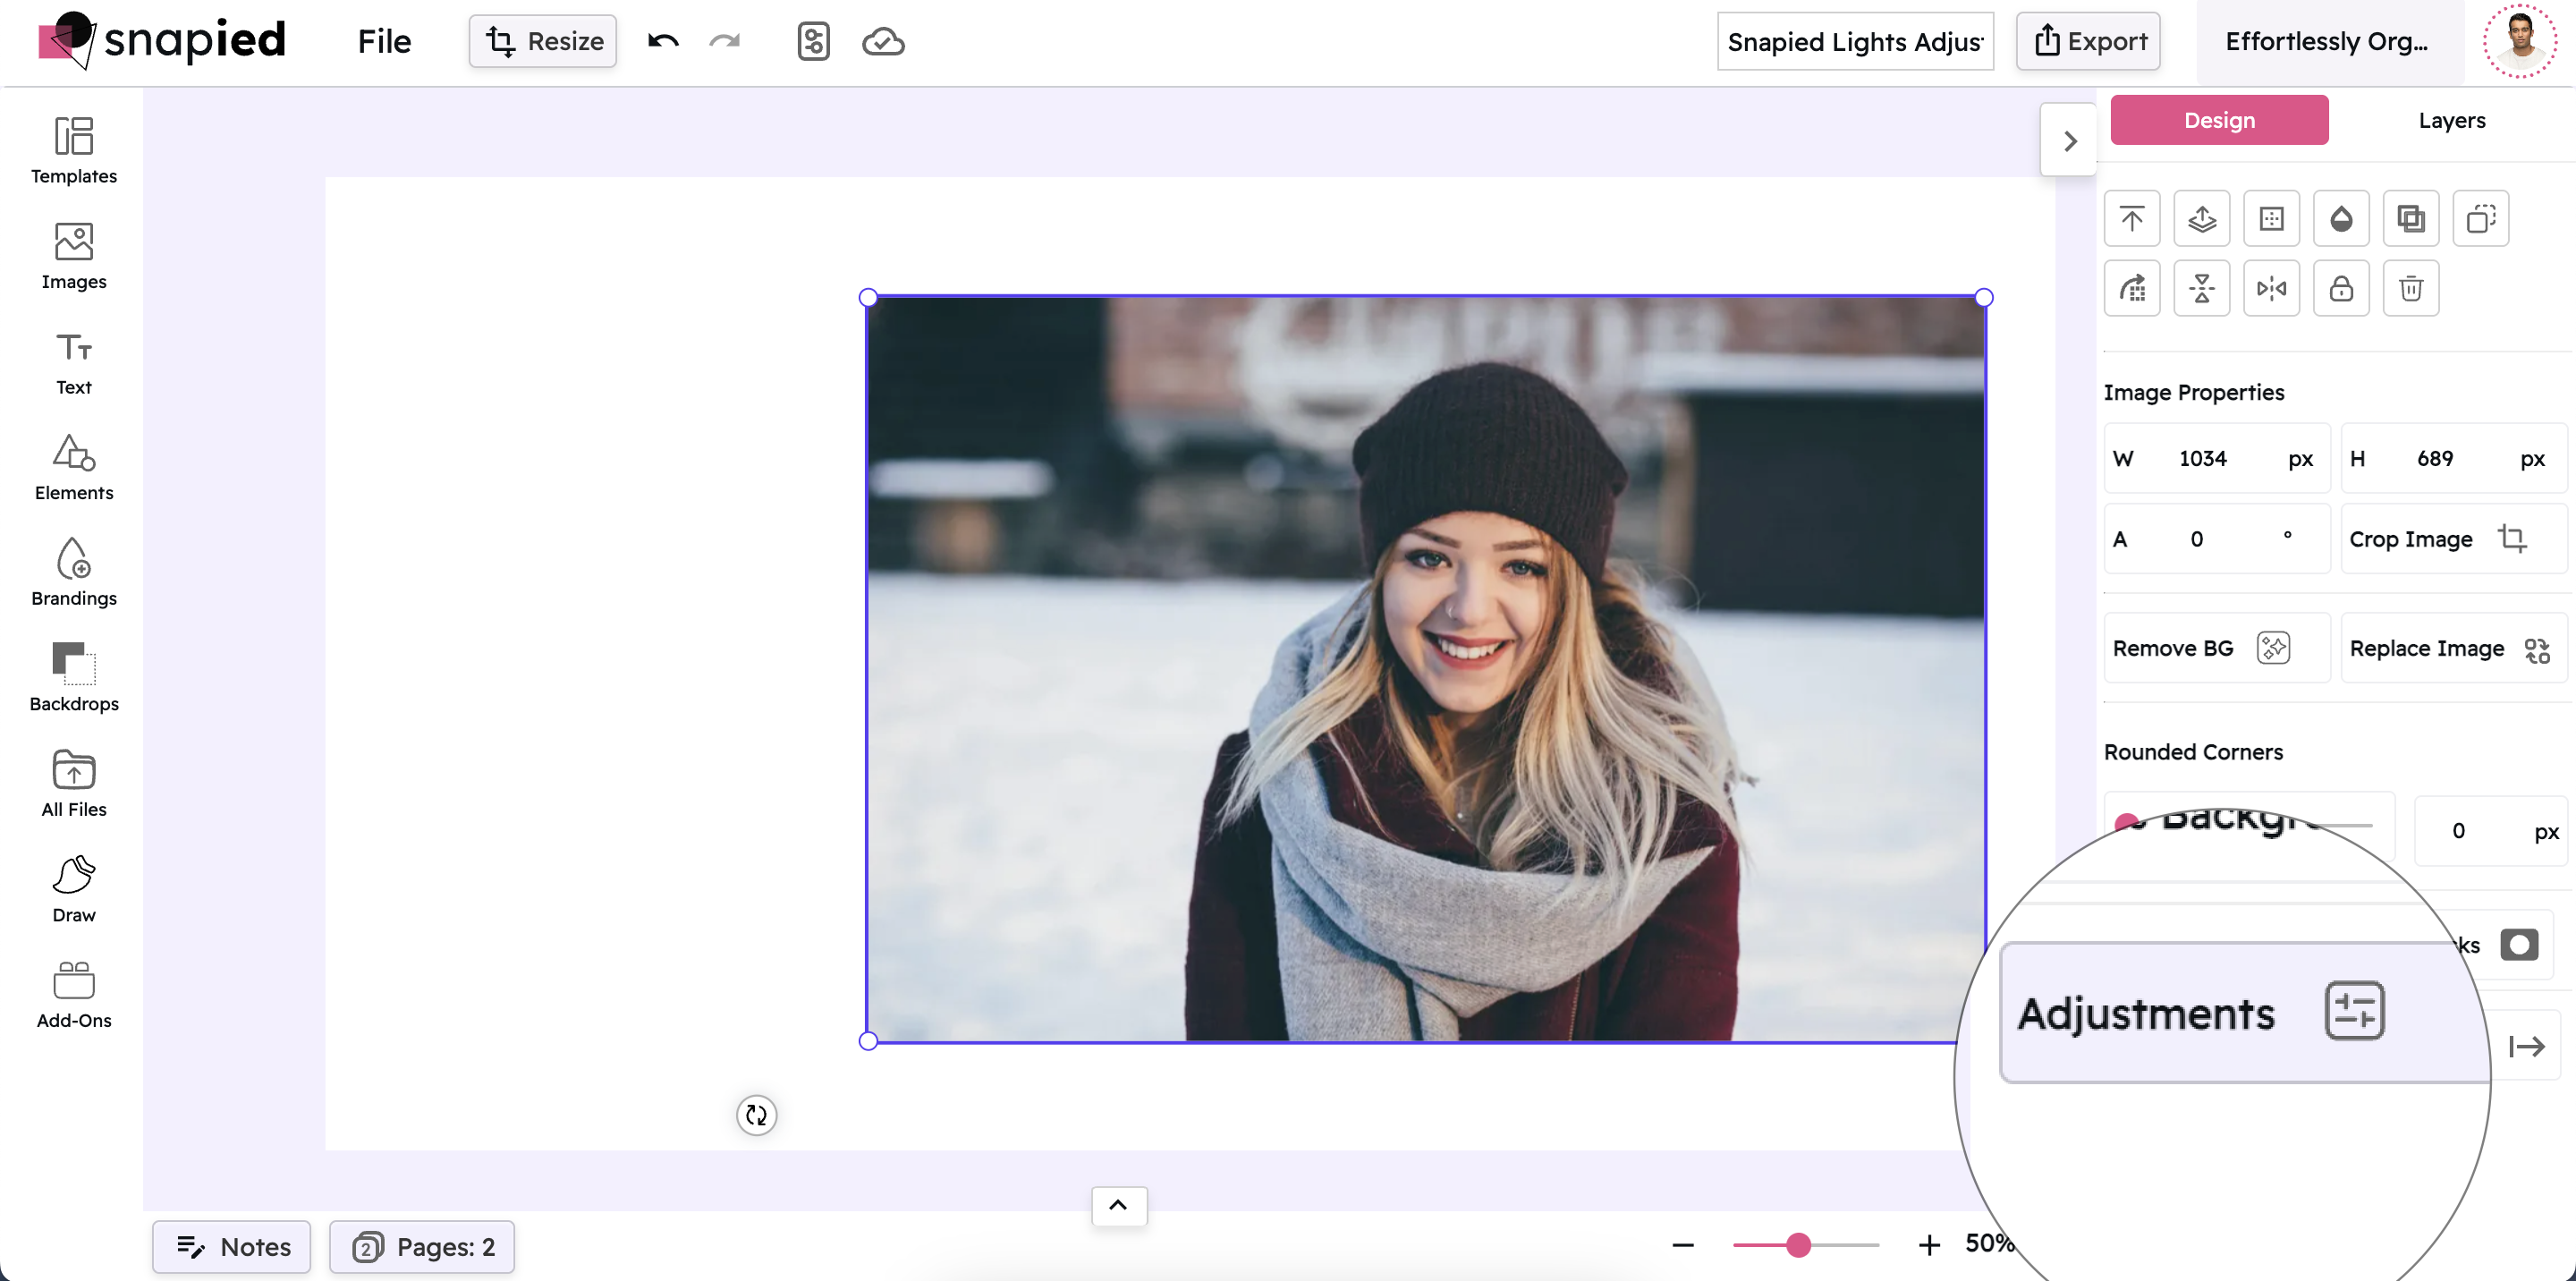
Access Adjustment Panel
Select your image and click on the Adjustments icon in the left sidebar. This will open the comprehensive adjustment panel.
Open Sharpen Control
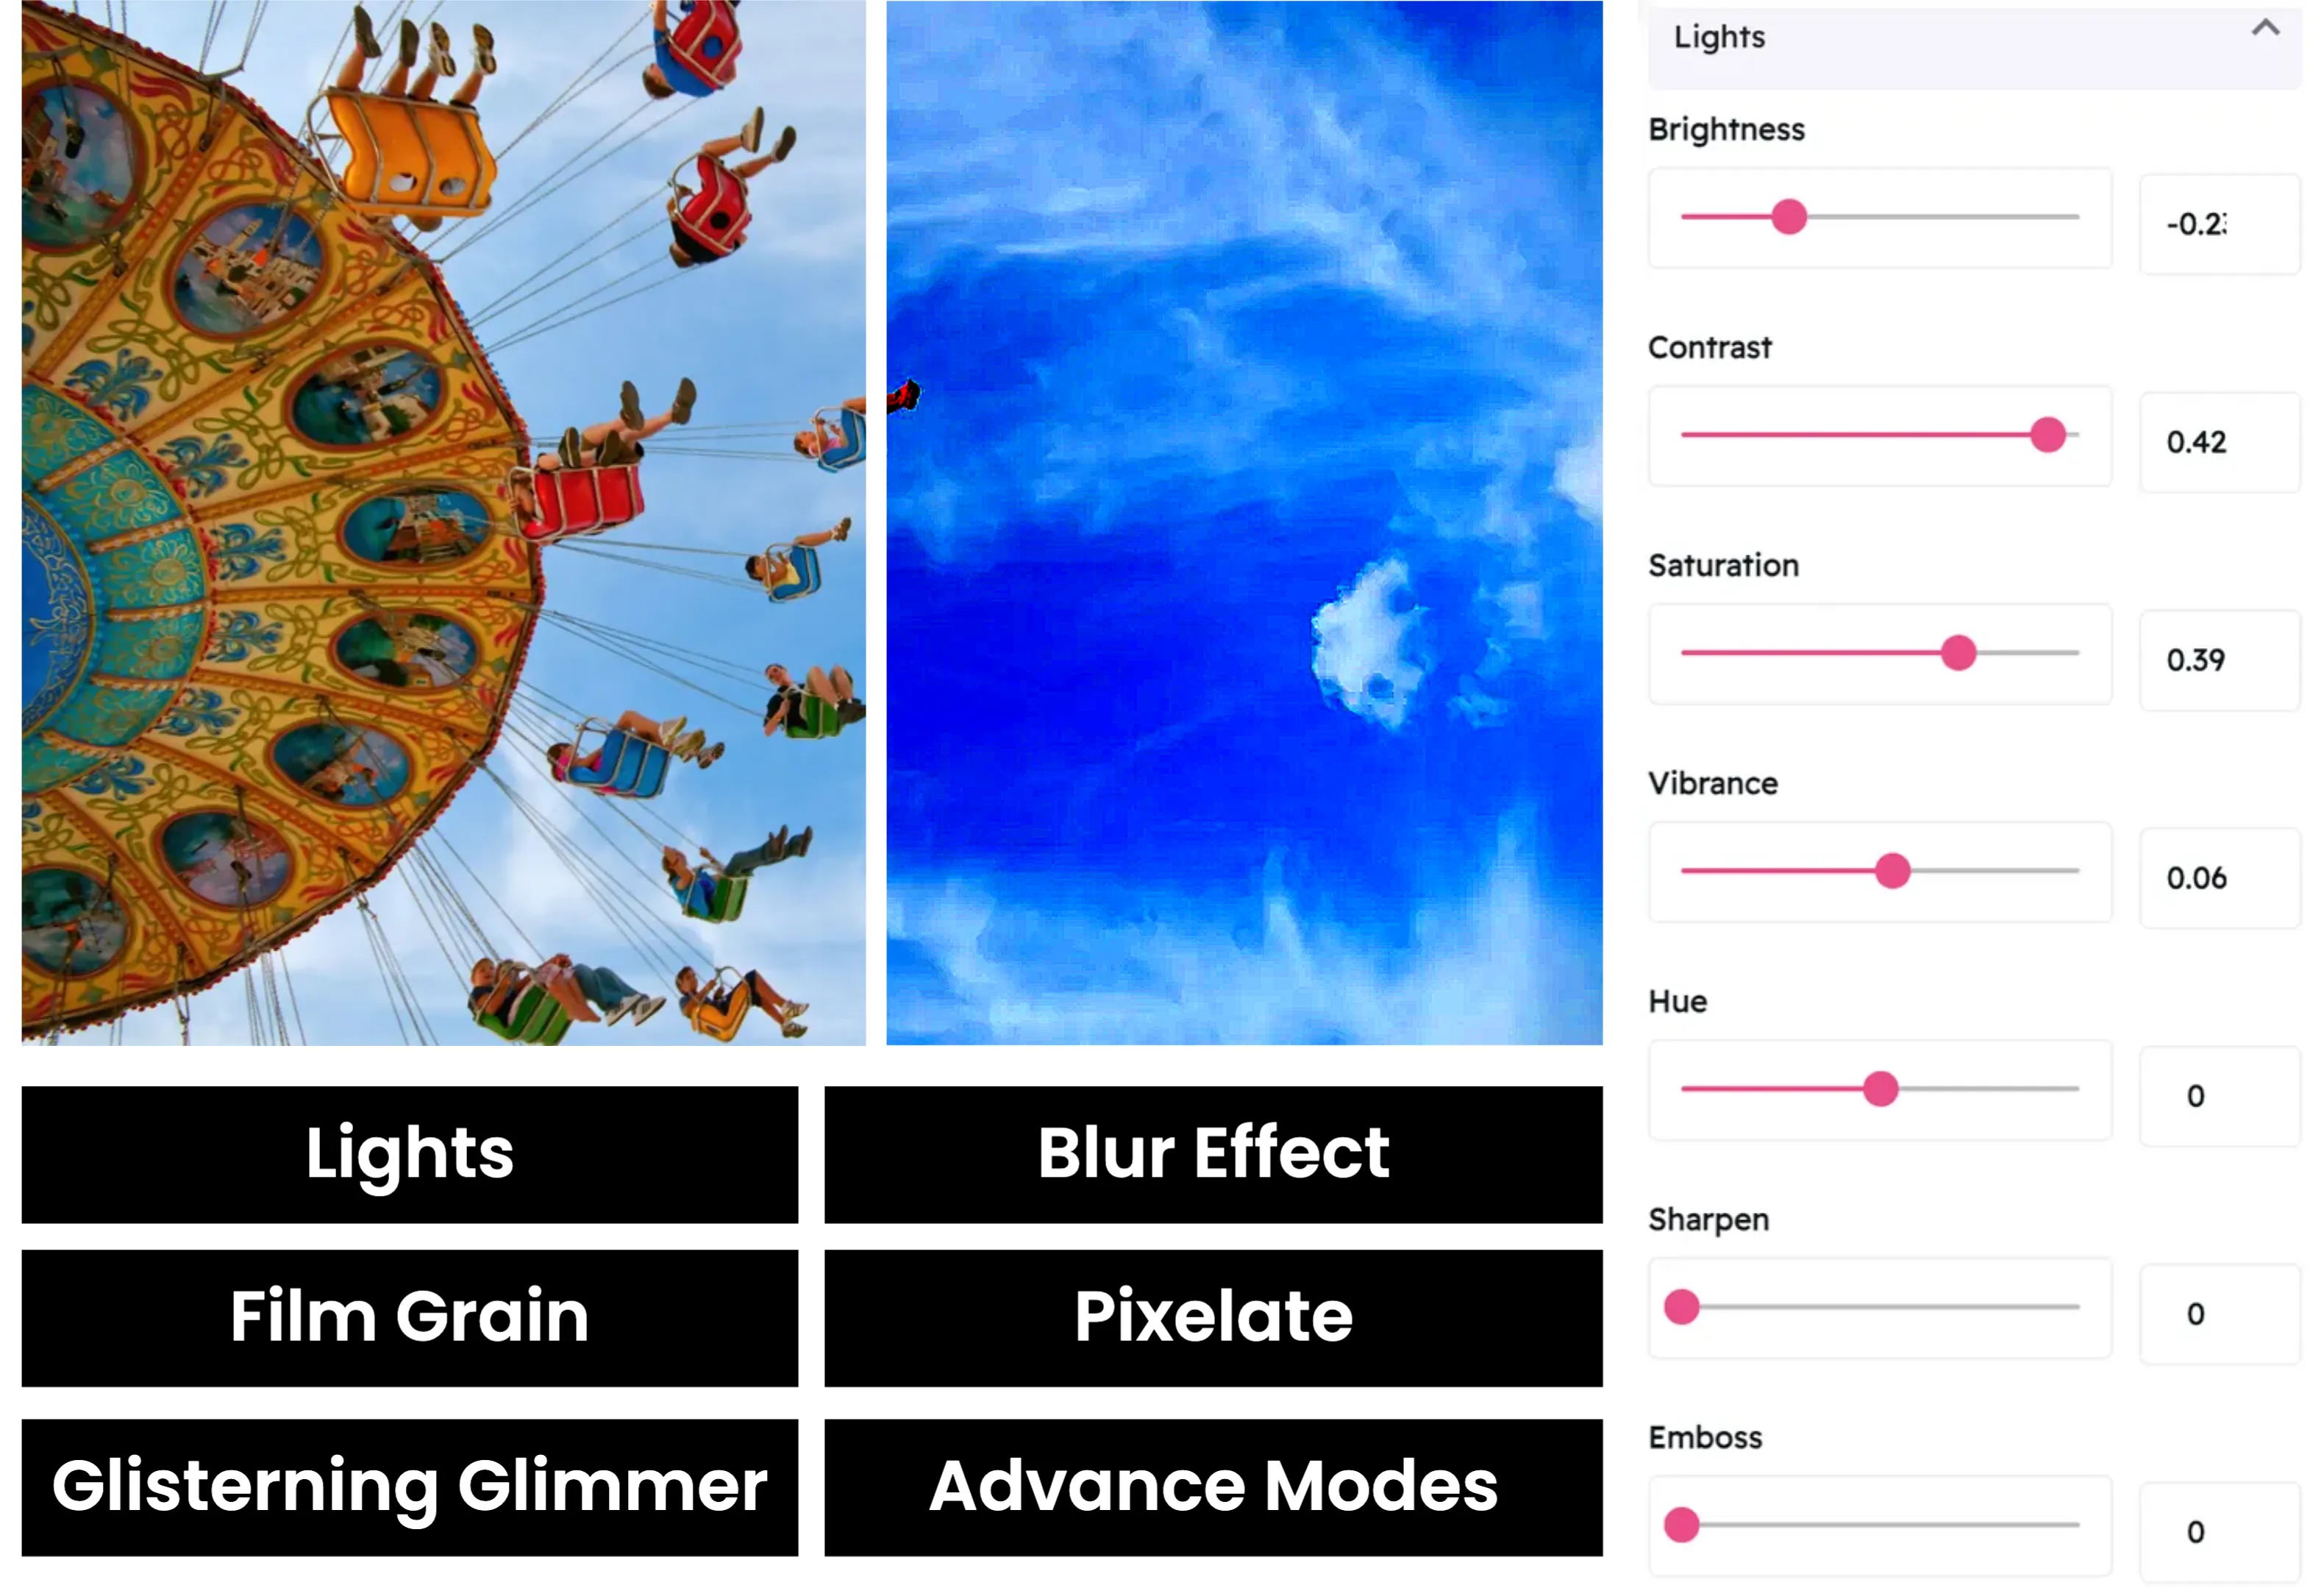
In the Adjustments panel, locate and click on the "Lights" section to expand the lighting controls. The Sharpen slider will be available in the expanded controls.
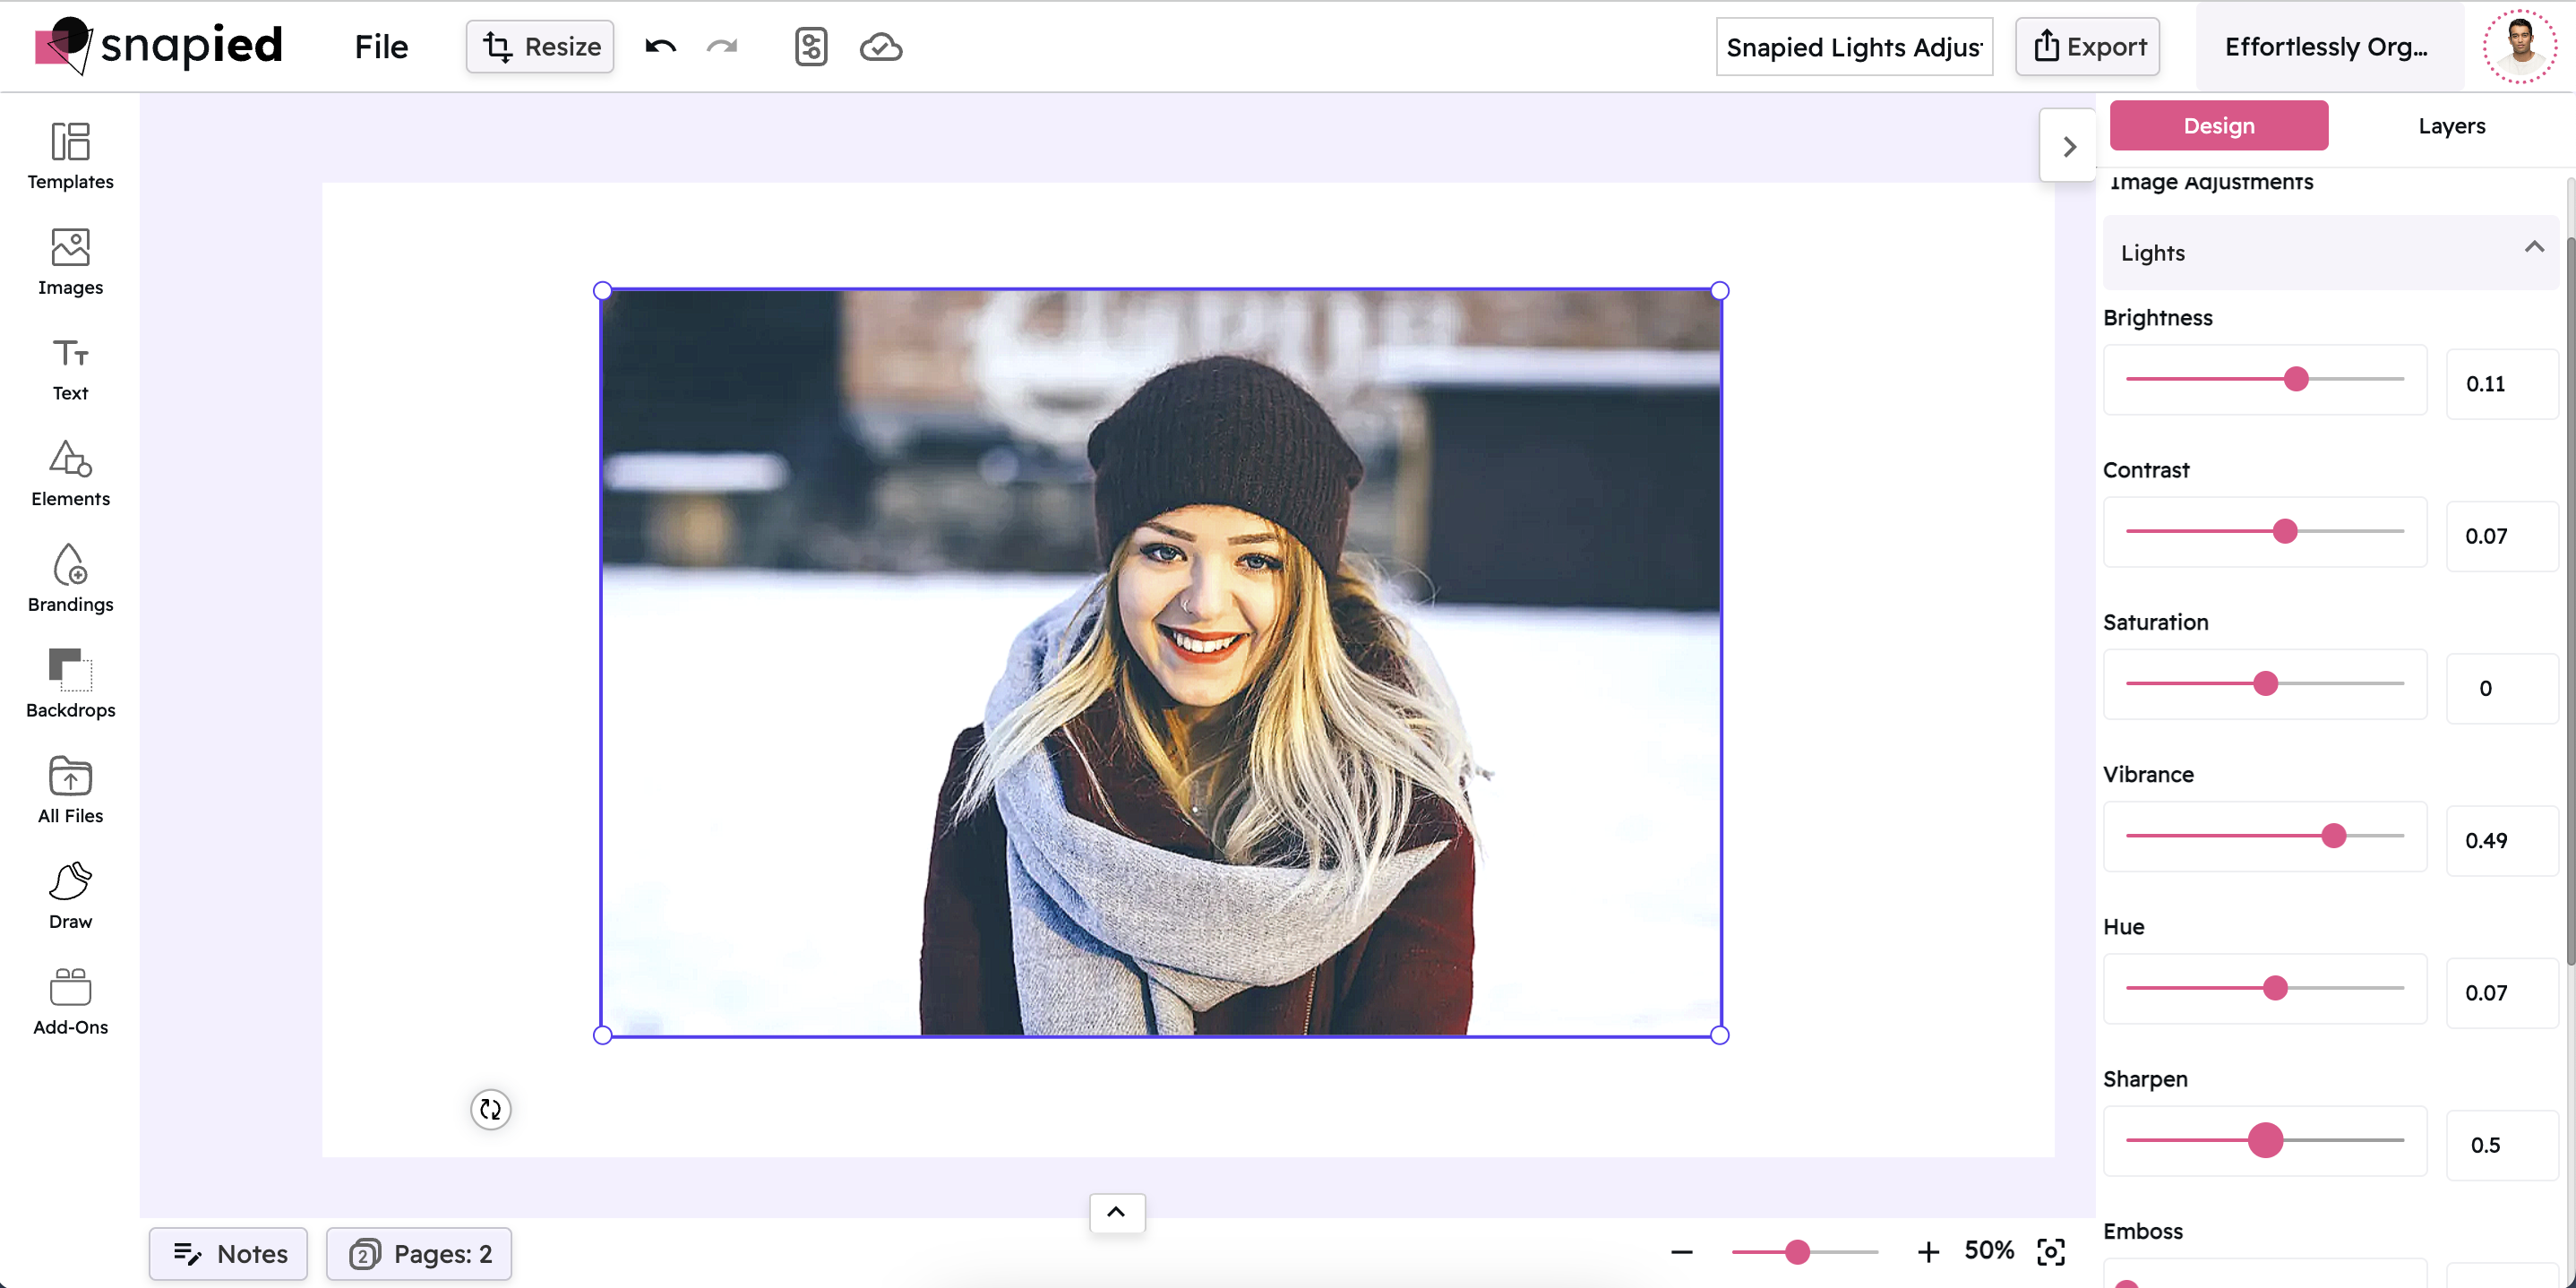
Adjust and Apply
Use the intuitive sharpen slider to make precise adjustments to your image. Move the slider to the right to increase sharpness and enhance detail. Each change is previewed in real-time, allowing you to see exactly how your modifications affect the image. Once you're satisfied with the results, click "Apply" to finalize your changes.
Interactive Sharpen Control
Experience our intuitive sharpening slider that gives you precise control over your image's clarity and detail

Sharpening Examples
See how different sharpening levels can transform your images

Low Sharpening
Subtle sharpening enhances detail without creating artifacts. Perfect for portraits and images that already have good clarity.

Medium Sharpening
Moderate sharpening brings out textures and details while maintaining a natural look. Great for landscapes and product photography.

High Sharpening
Strong sharpening dramatically enhances edges and details. Ideal for architectural photography, text, and graphics where maximum clarity is desired.
Before & After: See the Difference
Examine the impact of sharpening on image detail

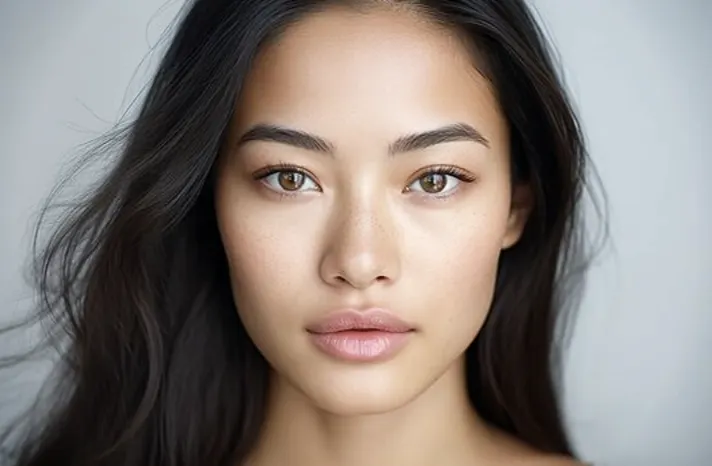
Before Sharpening
Original image with soft details and less defined edges. Notice how some textures appear slightly blurred.

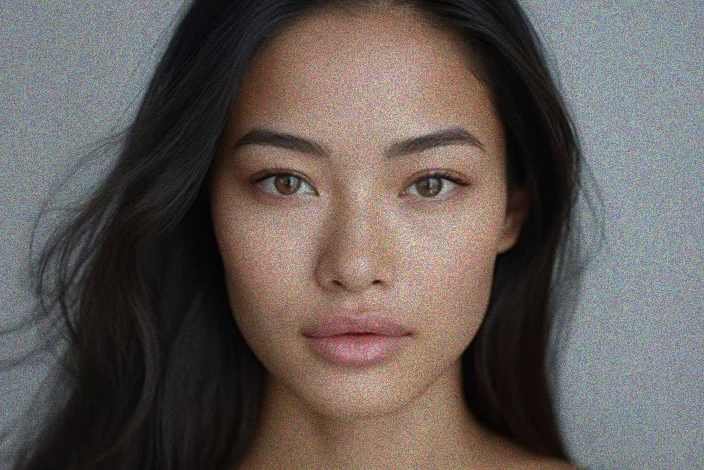
After Sharpening
Enhanced image with improved clarity and definition. Textures are more pronounced and edges are crisper.
Perfect for These Common Scenarios
Sharpening can solve many common photography challenges
Product Photography
Enhance product details and textures to create more appealing and professional product images for e-commerce and marketing.
Try It Now
Text and Graphics
Improve the legibility of text and the clarity of graphics in presentations, social media posts, and marketing materials.
Try It Now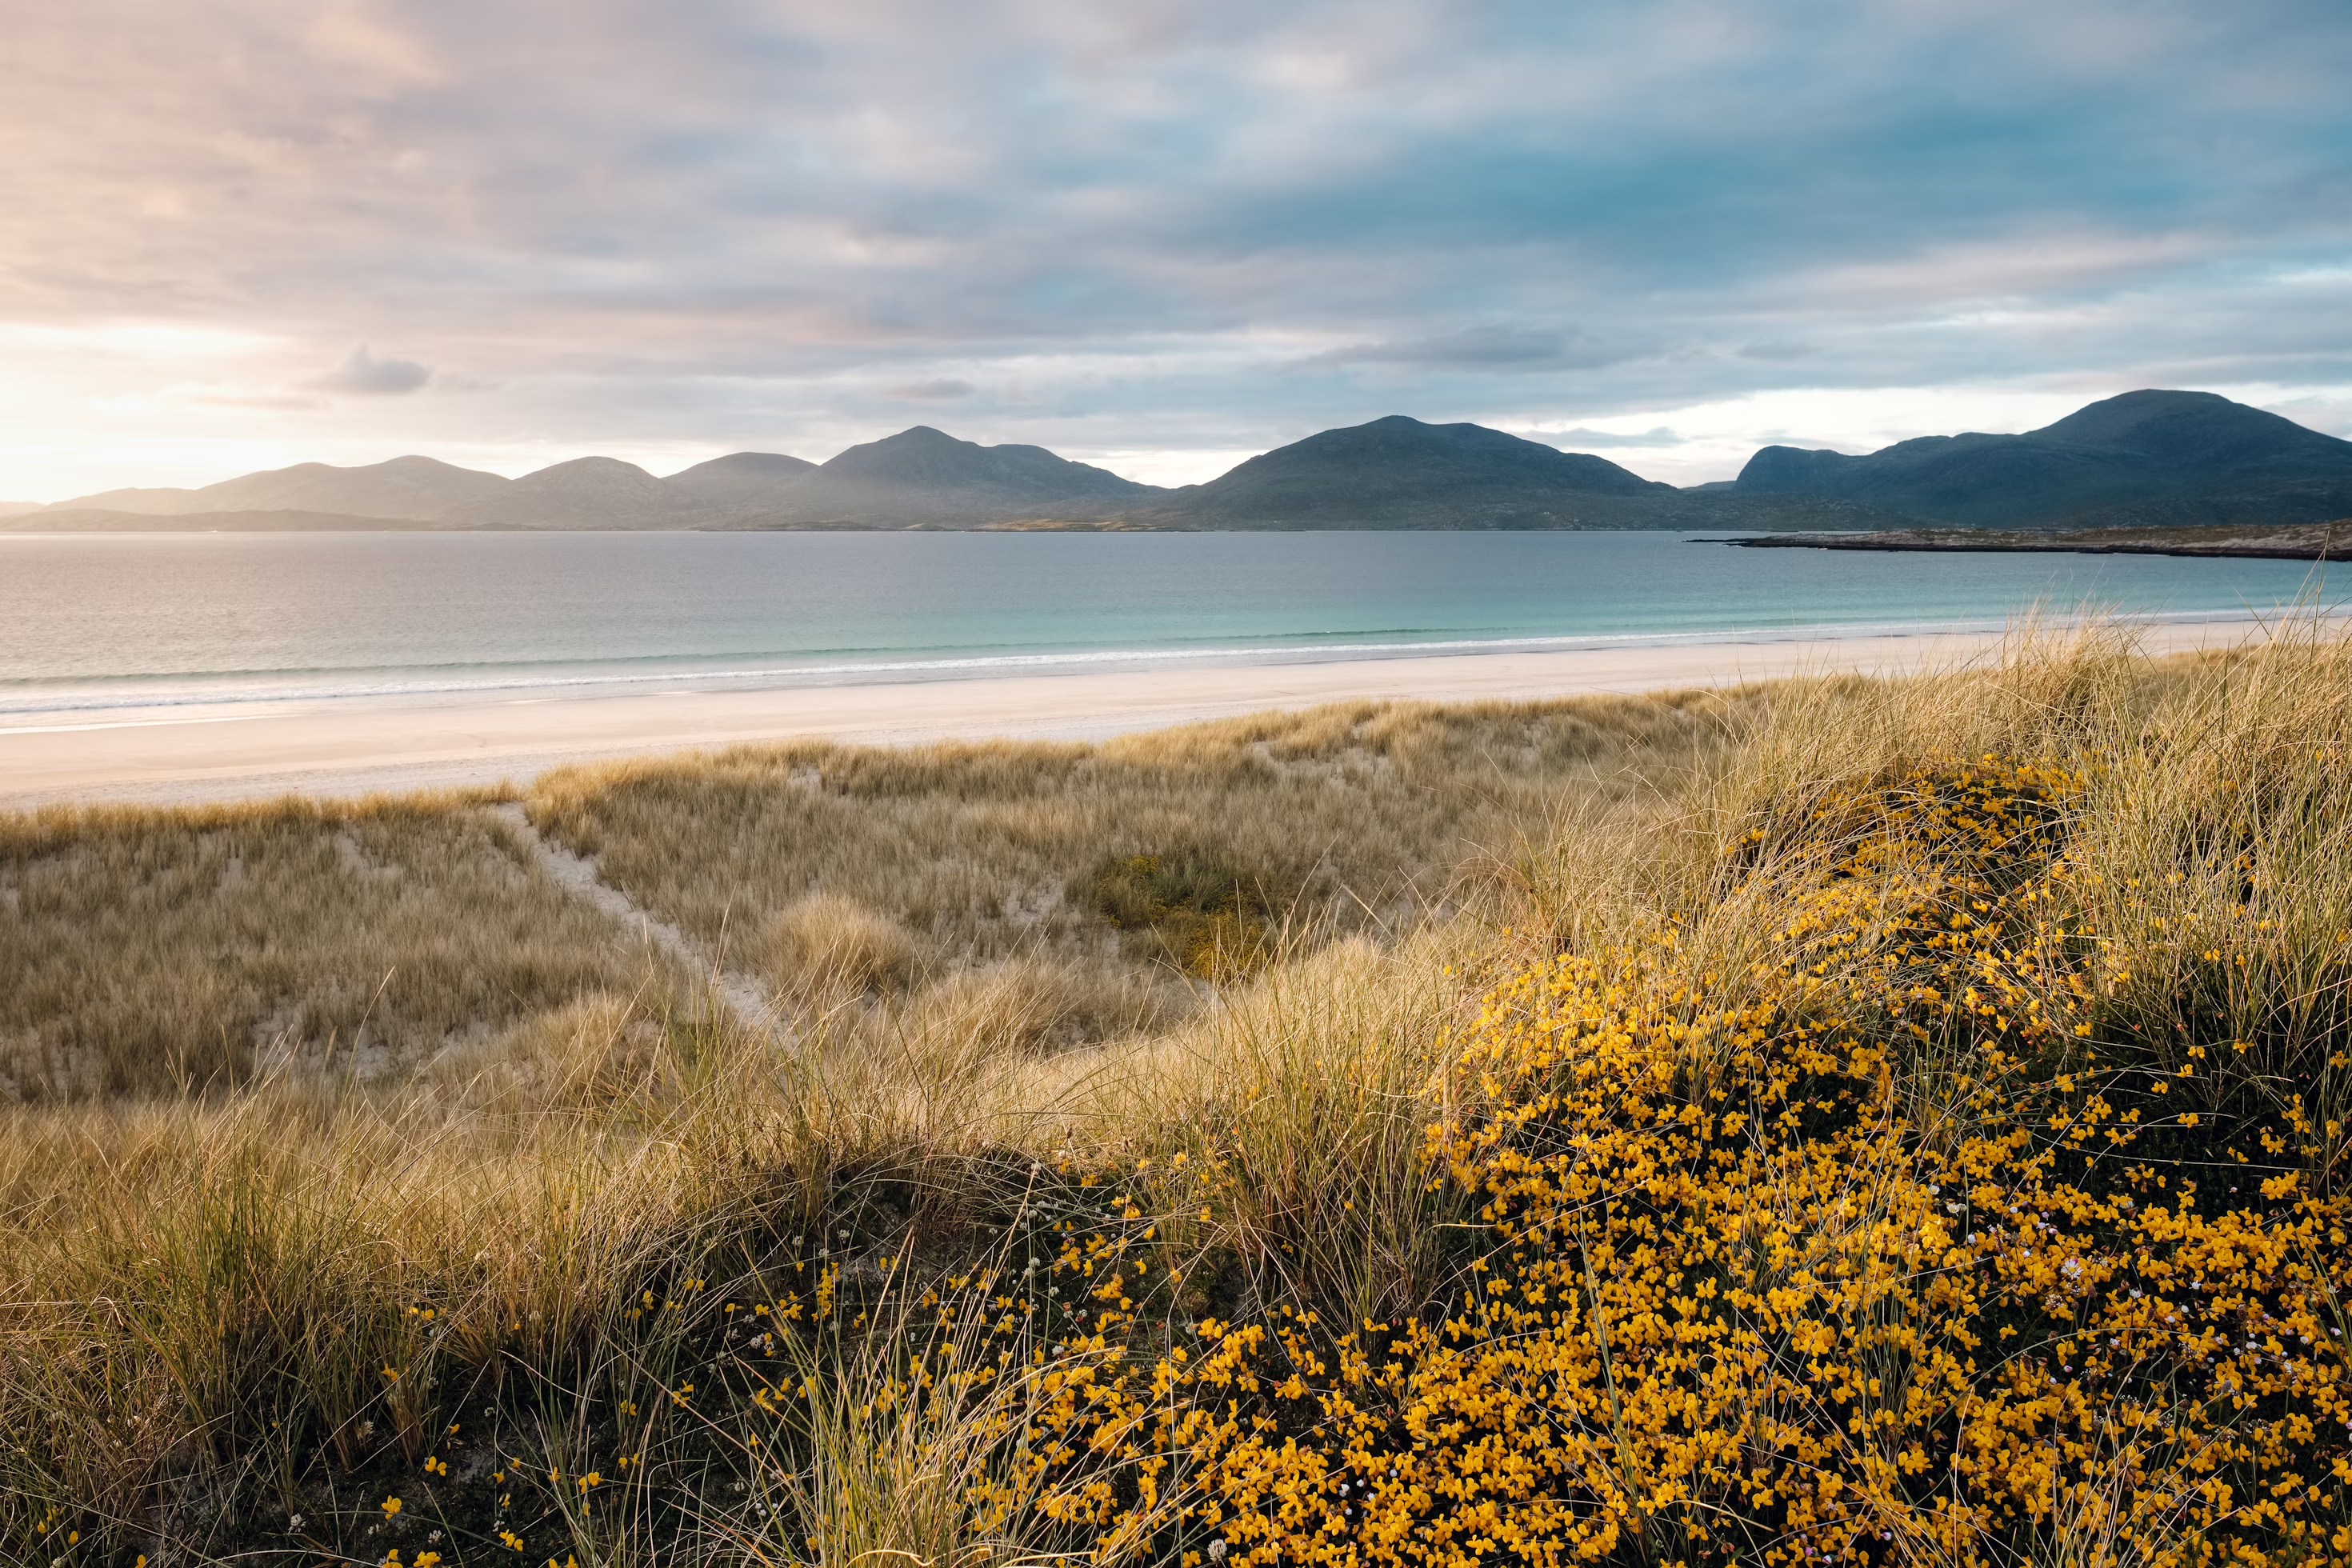
Landscape Photography
Bring out the intricate details in landscapes, from distant mountains to nearby foliage, creating more immersive and impactful images.
Try It Now
Scanned Documents
Enhance the clarity of scanned documents, old photographs, and archival materials to improve readability and preserve important details.
Try It NowPro Tips for Sharpening
Get the most out of Snapied's sharpening control with these expert techniques
View at 100% Zoom
Always check your sharpening adjustments at 100% zoom to accurately see the effect. Viewing at smaller sizes can hide artifacts or make the effect seem less pronounced.
Less is More
It's easy to over-sharpen an image, which can create unnatural halos around edges and amplify noise. Start with a low value and gradually increase until you achieve the desired clarity.
Consider Your Output Medium
Different output mediums require different levels of sharpening. Images for web display often need more sharpening than those for print, while images for mobile devices may need less due to the smaller screen size.
Sharpen Last
Apply sharpening as one of the final steps in your editing workflow, after adjusting exposure, color, and other elements. This ensures that you're sharpening the final image and not amplifying issues that might be corrected later.
Related Features

Noise Reduction
Smooth out digital noise while preserving important details in your images.
Learn MoreReady to Enhance Your Image Clarity?
Take complete control of your image's detail and sharpness with our powerful adjustment tools.
Your photos deserve crystal-clear clarity.