Advanced Image Effects: Professional-Grade Editing Tools
Transform Your Visuals with Powerful Adjustments and Blending Modes
Snapied's Advanced Image Effects give you professional-grade control over your visuals. From sophisticated blending modes to precise filter adjustments, our comprehensive toolkit empowers you to achieve exactly the look you want.
Unlike basic editing tools, our advanced effects suite offers granular control over every aspect of your image. Adjust individual RGB channels, apply complex blending modes, fine-tune highlights and shadows, or add artistic effects like film grain and emboss—all with intuitive controls and real-time previews.
Professional Blending Modes
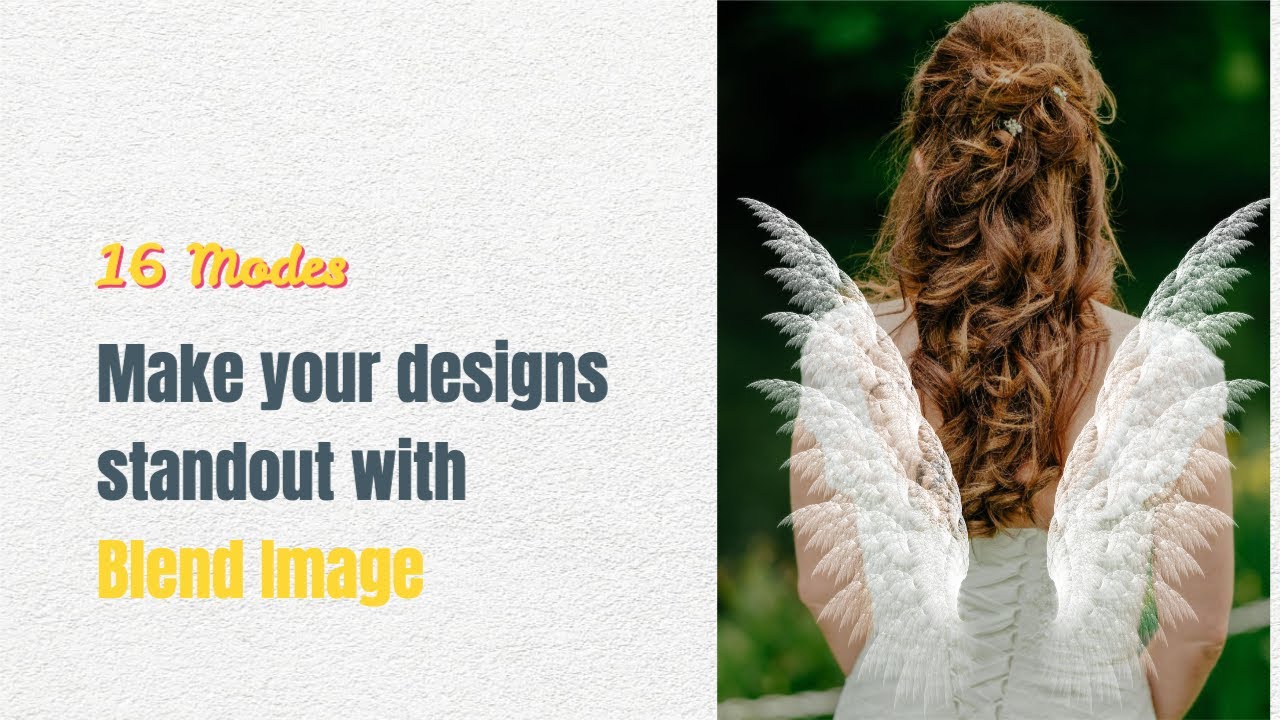
Transform your images with 16 powerful blending modes that give you complete creative control

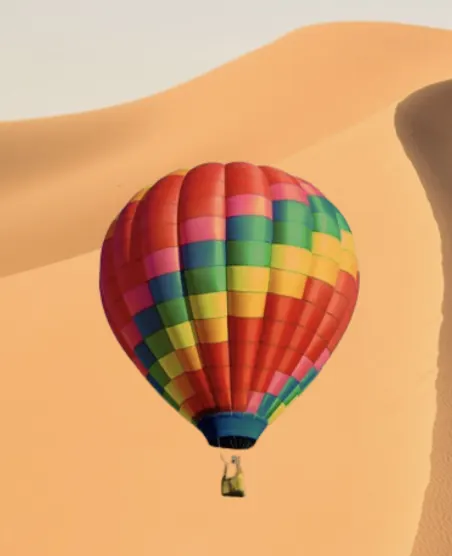
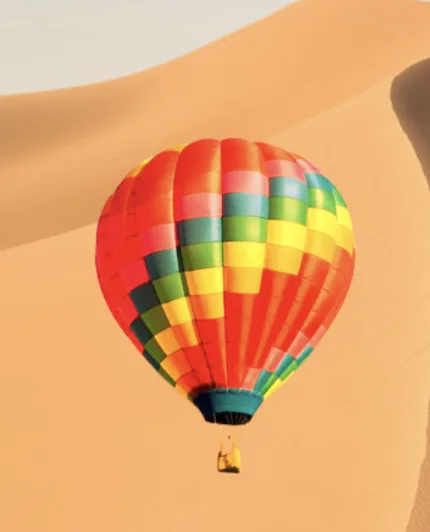
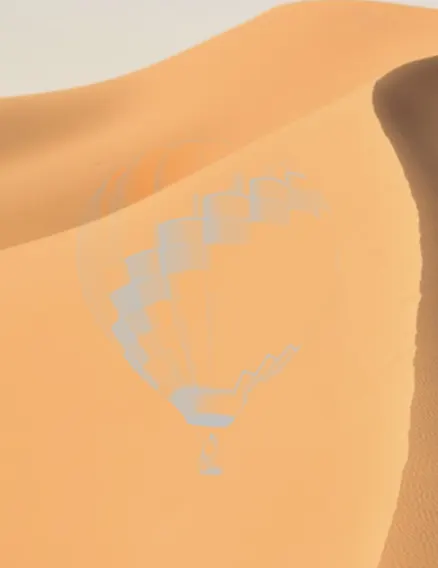
Normal
No blending effect applied. This is the default mode that displays the image as is.
Darken
Retains the darkest colors between the base and blend layers, creating a shadowy effect.

Multiply
Multiplies base and blend colors, resulting in a darker image with enhanced shadows.
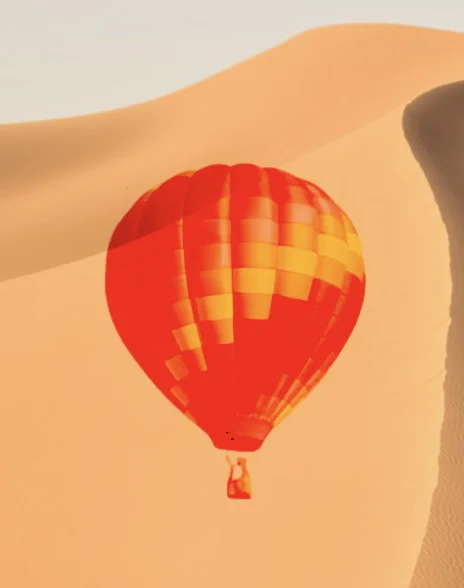
Color Burn
Darkens the base color to reflect the blend color, creating intense, rich tones.
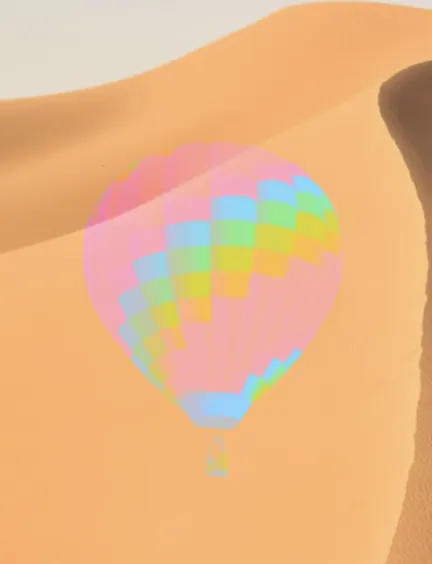
Lighten
Displays the lightest colors between the base and blend layers, brightening the image.
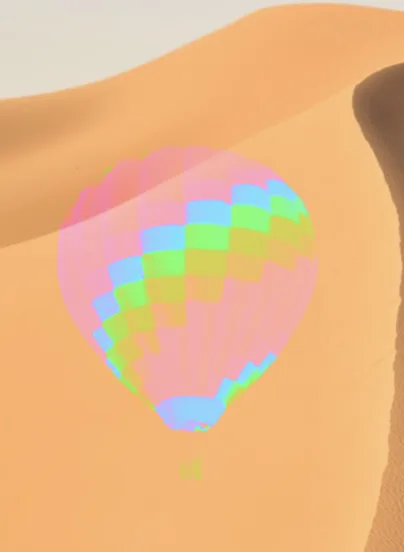
Screen
Brightens colors by inverting, multiplying, and inverting again, ideal for light effects.
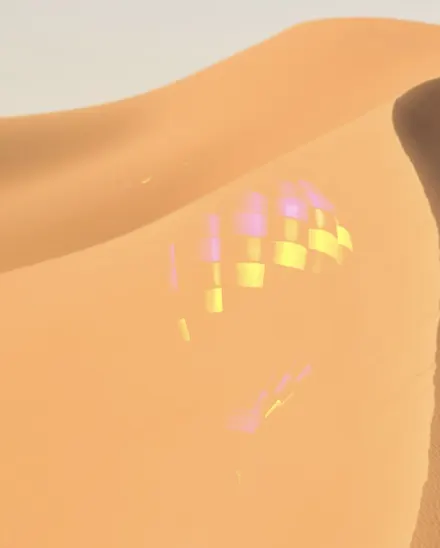
Color Dodge
Brightens the base color to reflect the blend color, creating a glowing, vibrant effect.
Overlay
Combines Multiply and Screen modes to enhance contrast while preserving highlights and shadows.
Soft Light
Applies a subtle light effect, similar to shining a diffused spotlight on the image.
Hard Light
Combines Multiply and Screen with high contrast, similar to shining a harsh light on the image.
Difference
Shows the absolute difference between base and blend colors, creating unique color inversions.
Exclusion
Similar to Difference but with lower contrast, creating a more subtle color inversion effect.
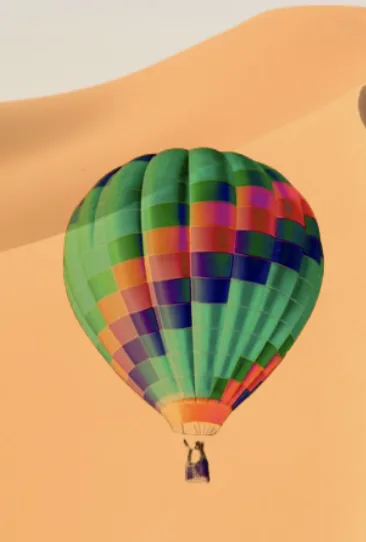
Hue
Applies the hue of the blend color while preserving the saturation and luminance of the base.
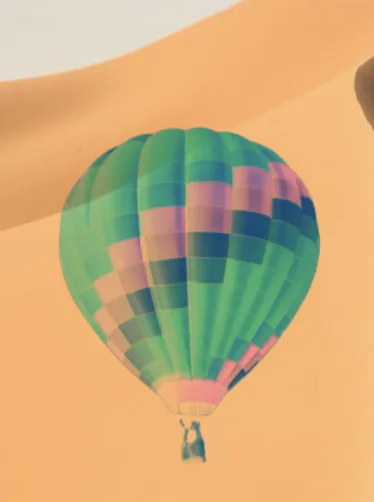
Saturation
Applies the saturation of the blend color while preserving the hue and luminance of the base.
Color
Applies the hue and saturation of the blend color while preserving the luminance of the base.

Luminosity
Applies the luminance of the blend color while preserving the hue and saturation of the base.
Powerful Image Filters & Adjustments
Fine-tune every aspect of your images with our comprehensive suite of professional adjustment tools
Brightness
Adjust the overall lightness of your image with precise control. Perfect for correcting underexposed photos or creating high-key effects.
Contrast
Enhance the difference between light and dark areas to add depth and dimension to your images, making them more vibrant and dynamic.

Saturation
Control the intensity of colors in your image. Increase for vibrant, bold colors or decrease for a more subtle, muted look.

Vibrance
Intelligently enhance colors by increasing the intensity of less-saturated colors while preserving already-saturated colors and skin tones.

Hue Rotation
Shift all colors in your image along the color spectrum to create artistic effects or correct color casts with precision.
Blur
Add a smooth, gaussian blur to your image for dreamy effects, background softening, or to create depth of field.
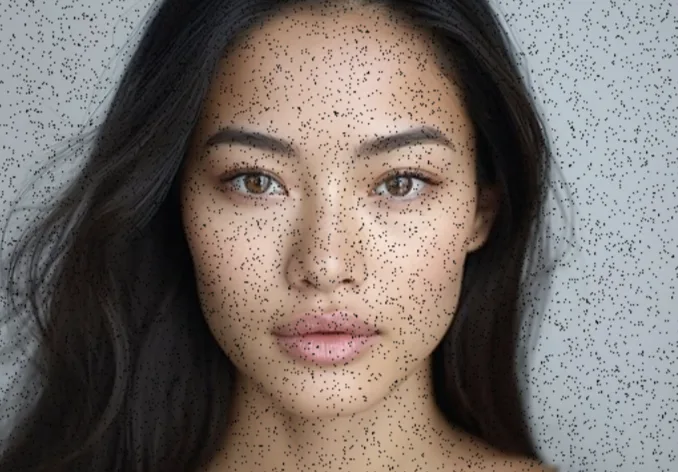
Noise
Add film-like grain to your images for a vintage aesthetic or to add texture to overly smooth digital photos.
Pixelate
Create retro, 8-bit style effects or censor sensitive information by breaking your image down into larger blocks of color.
Sharpen
Enhance the definition and clarity of your images by increasing edge contrast, making details more pronounced.
Emboss
Create a 3D relief effect that highlights edges and contours, giving your image a textured, carved appearance.

Gamma
Fine-tune the RGB gamma channels individually for precise color correction and creative color effects.
Blacks
Adjust the black point of your image to enhance shadows and create richer, deeper dark tones for more dramatic contrast.
Professional Editing Workflow
Master Snapied's advanced image effects with this simple step-by-step process
Upload Your Image
Start by uploading the image you want to enhance. Snapied supports all major image formats including JPG, PNG, WebP, and more. For best results, use high-resolution images that give you more detail to work with.
Apply Basic Adjustments
Begin with fundamental adjustments like brightness, contrast, and saturation to establish a solid foundation. These basic corrections help balance your image before applying more advanced effects.
Refine with Advanced Filters
Once your basic adjustments are in place, enhance your image further with advanced filters like vibrance, gamma adjustments, or sharpening. These tools allow for more precise control over specific aspects of your image.
Apply Creative Effects
Add artistic touches with effects like blur, noise, emboss, or pixelate. These creative filters can transform an ordinary image into something unique and eye-catching.
Experiment with Blending Modes
Take your editing to the next level by applying blending modes. Try different modes to see how they interact with your image, creating unique effects that can dramatically transform your visual.
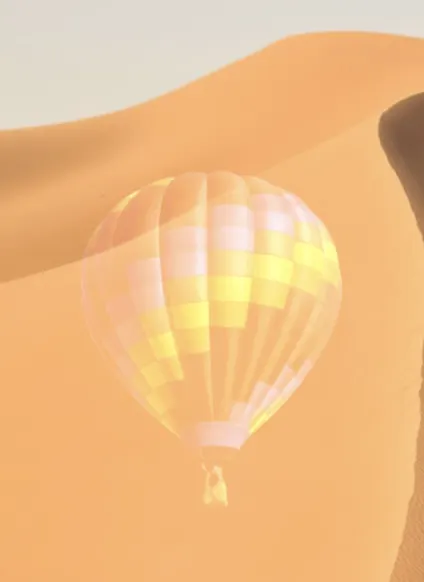
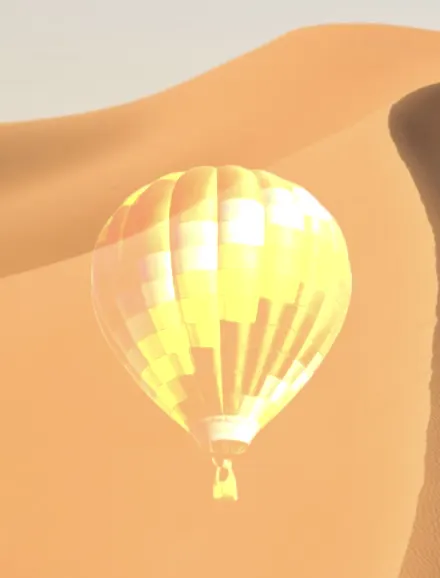
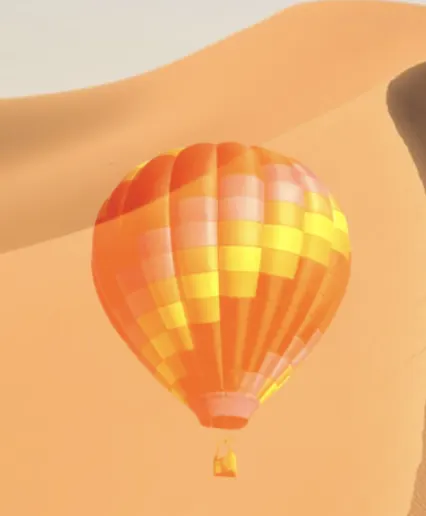
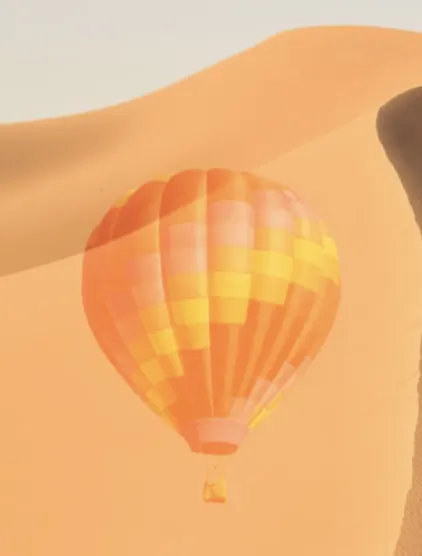
Before & After: See the Transformation
Discover how Snapied's advanced effects can completely transform your images
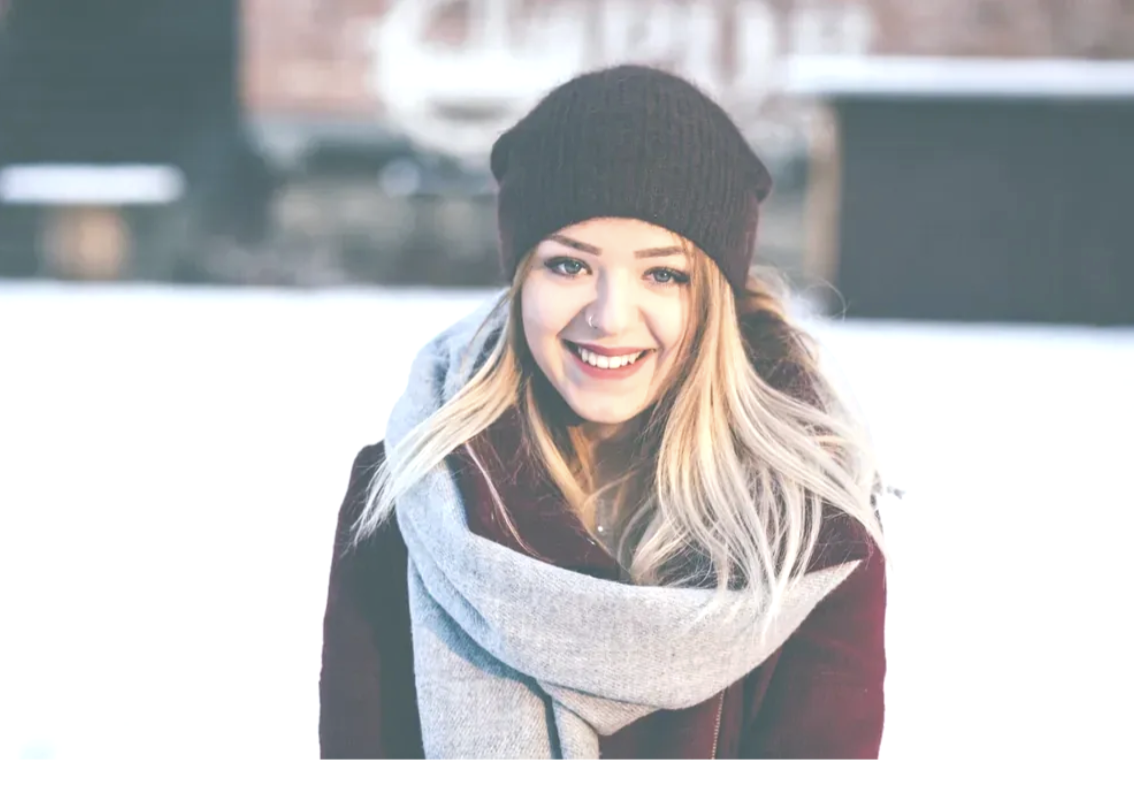
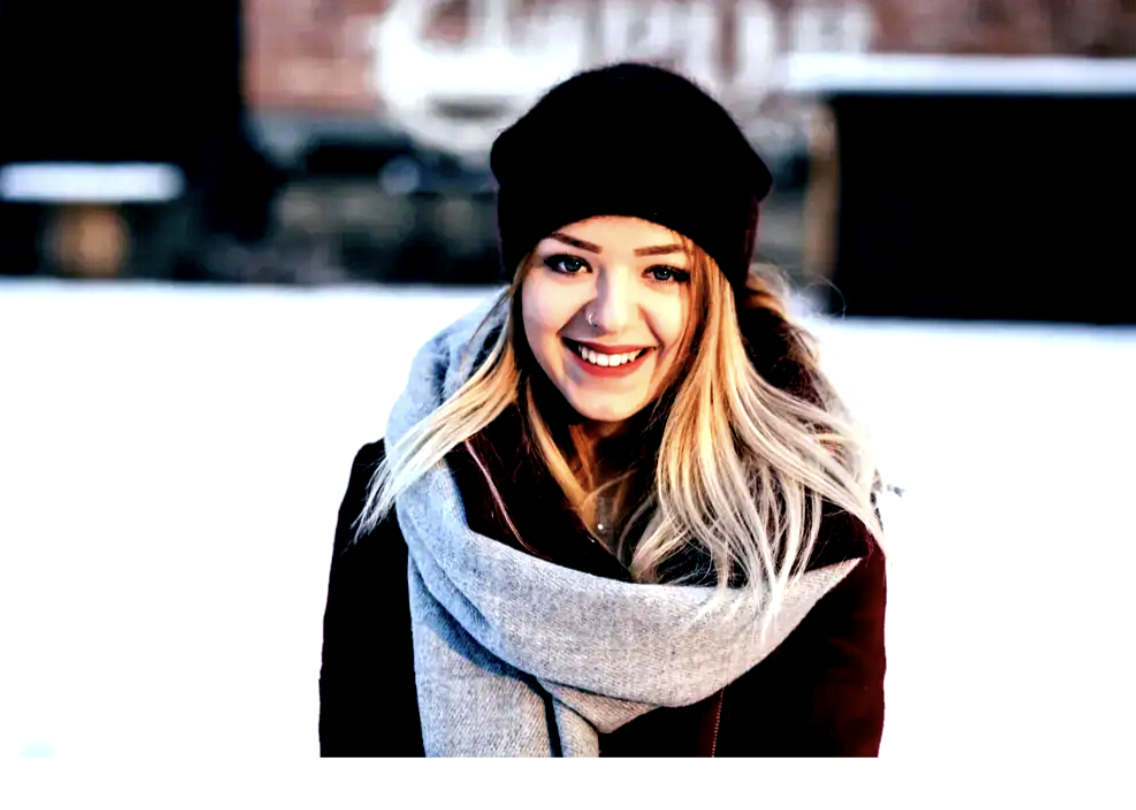
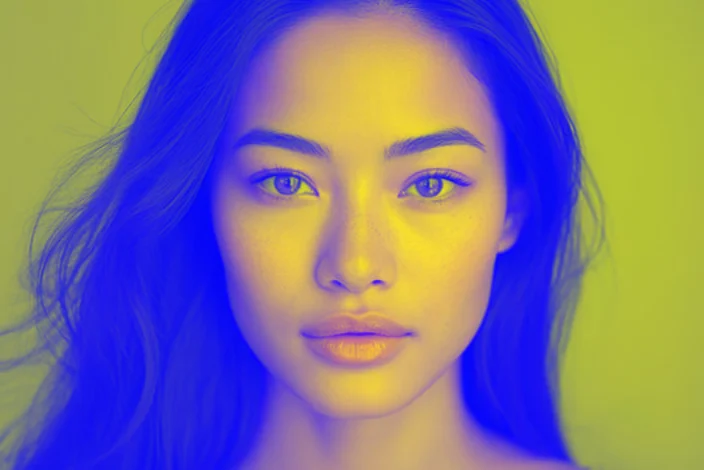
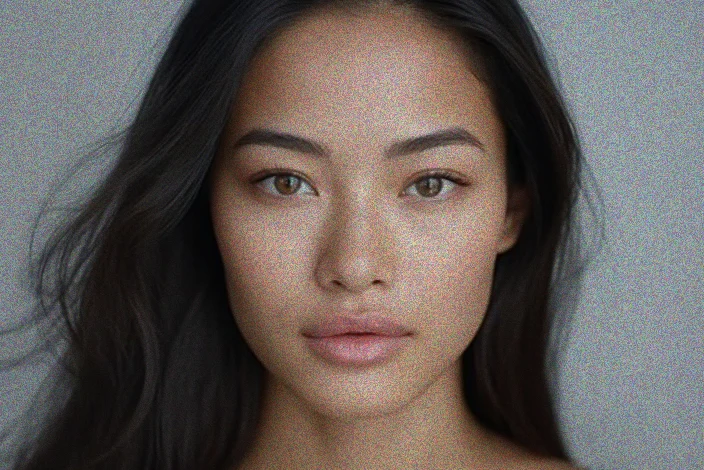
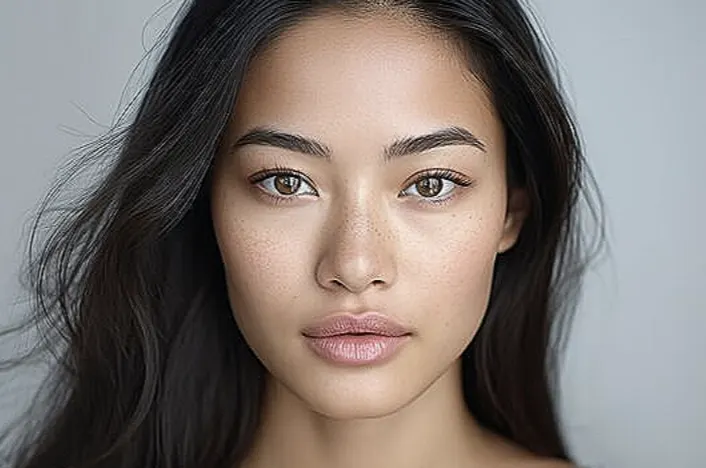
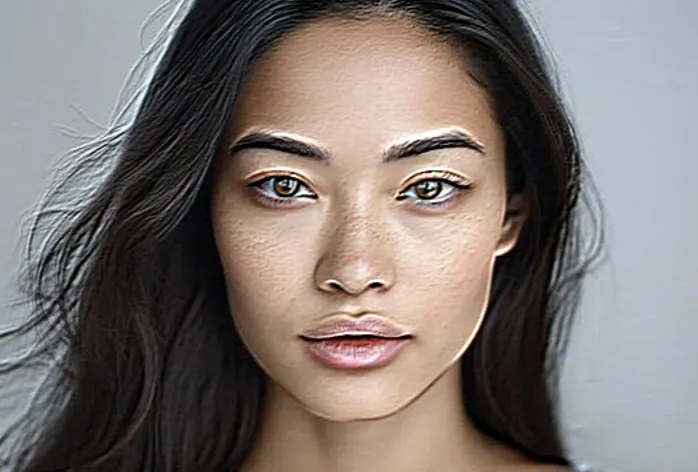
Portrait Enhancement
Transform ordinary portraits into professional headshots with our advanced adjustment tools. Enhance skin tones, brighten eyes, and create a polished, magazine-quality look.
Product Photography
Make your products stand out with professional-grade enhancements. Increase clarity, enhance colors, and create eye-catching visuals that drive engagement and sales.
Landscape Enhancement
Breathe life into landscape photos by enhancing colors, improving contrast, and adding depth. Create stunning scenery that captures the beauty of the natural world.
Creative Transformation
Push the boundaries of creativity by combining multiple effects for artistic results. Transform ordinary photos into unique visual art that stands out on social media.
Pro Tips for Advanced Editing
Master Snapied's advanced image effects with these expert techniques
Layer Your Adjustments
Instead of applying one extreme adjustment, build up your effect with multiple subtle adjustments. For example, rather than adding +50 contrast, try adding +20 contrast, then some vibrance, and perhaps a touch of sharpening. This creates more natural-looking results.
Experiment with Blending Modes
Don't be afraid to try different blending modes, even ones that seem unusual for your image. Sometimes unexpected combinations create the most striking results. Overlay and Soft Light are great starting points for enhancing photos, while Difference and Exclusion can create unique artistic effects.
Use Vibrance Instead of Saturation
When enhancing colors, try using Vibrance instead of Saturation. Vibrance intelligently increases the intensity of less-saturated colors while protecting skin tones and already-saturated colors from becoming oversaturated, resulting in more natural-looking enhancements.
Balance Your Adjustments
Remember that adjustments work together. If you increase contrast, you might need to adjust brightness as well. If you enhance saturation, you might want to slightly reduce vibrance. Finding the right balance between different adjustments is key to achieving professional results.
Ready to Take Your Images to the Next Level?
Unlock the full potential of your visuals with Snapied's professional-grade editing tools.
Your designs deserve the power of advanced image effects.